We get lots of questions about shelter from folks getting started in bikepacking. What shelter is best? Can I use the ____ that I already own? How do I know which shelter to bring on a given trip? In this post, we’ll offer three perspectives on the best bikepacking shelter and try to answer some of those questions!
While many people already do some kind of camping, many shelters that would be appropriate for car camping or even backpacking are not well-suited for bike travel. Space and weight are at a premium when traveling by bike, so heavy and bulky shelters are a liability. In selecting a shelter for bikepacking, there are a few key factors to consider:
- Sleeping Comfort
- Protection from the Elements
- Interior Space & Gear Storage
- Ease of Site Selection & Setup
- Packed Size/Weight
Obviously, many of the above factors can change dramatically depending on weather, environment or season. Plan Ahead and Prepare for the conditions you expect to experience. Any shelter will offer some level of versatility but some excel only in certain conditions. Also, every person has their own preferences, likes and dislikes when it comes to shelter. In this post, we’ll offer perspectives from the Bike Touring News crew on the different shelters we use. What shelter do you prefer for bikepacking? What did we miss? Read through and add to the discussion with a comment below!
The Bike Hermit’s Preference: The Hammock
Several years ago, I came across some articles about stealth camping – or “hiding in the woods” as some people call it – on an obscure site called crazyguyonabike.com. The author’s choice of shelter was a Hennessy Hammock and – for some reason I can no longer remember – the idea of bike touring with a hammock appealed to me.
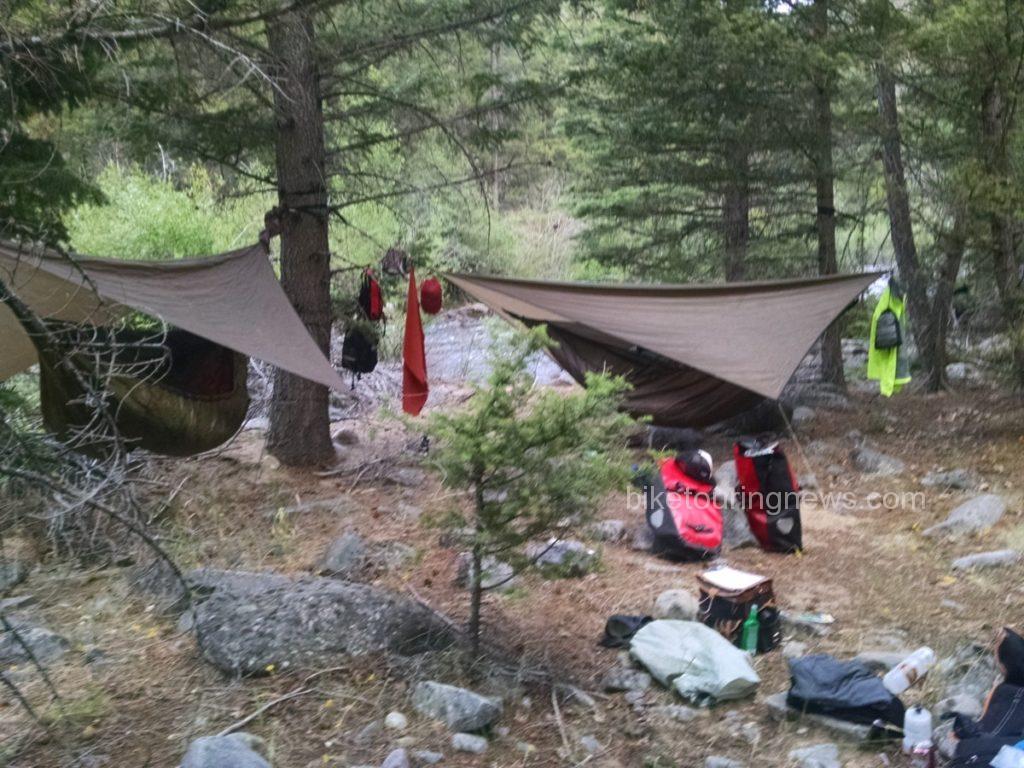
Not many spots for a tent
The design of my Hennessy Hammock impresses me every time I use it. The hammock is attached to and suspended from a ridge line which also supports the enclosing insect netting. A separate rain fly keeps the sleeper dry and/or out of the wind. Upgrading from the stock rain fly to the Monsoon rain fly creates a space around and under the hammock big enough to park the bicycle out of the rain. Hennessy sells a 4-season SuperShelter system consisting of a second layer of nylon on the bottom of the hammock which creates a sleeve where an insulating pad can be inserted. My experience is that the hammock is very cold to sleep in without the 4 season system.
Worries about sleeping in a “hammock” position and only being able to sleep on ones back are mitigated by the asymmetrical design of the Hennessy; once in the hammock the sleeper can put his feet to one side and his head to the other and the hammock offers a flatter, even if still not completely flat, support. I am not able to sleep face down but I can sleep comfortably on either side. This is obviously a big plus for side sleepers who struggle for comfort when sleeping on the ground.
People always ask what I do when there are no trees. The rain fly, when staked at one end or tied to a sagebrush, and supported at a higher point by the bike or a tree or a fence post at the other end makes a dandy shelter. If the night is cold the hammock can be used laying on the ground under the rain fly as a sort of cocoon. In this configuration, the hammock becomes a sort of tent/bivy/hammock hybrid shelter. The benefit of sleeping suspended is lost and setup can be tricky but this capability extends the range of conditions where a hammock is functional.
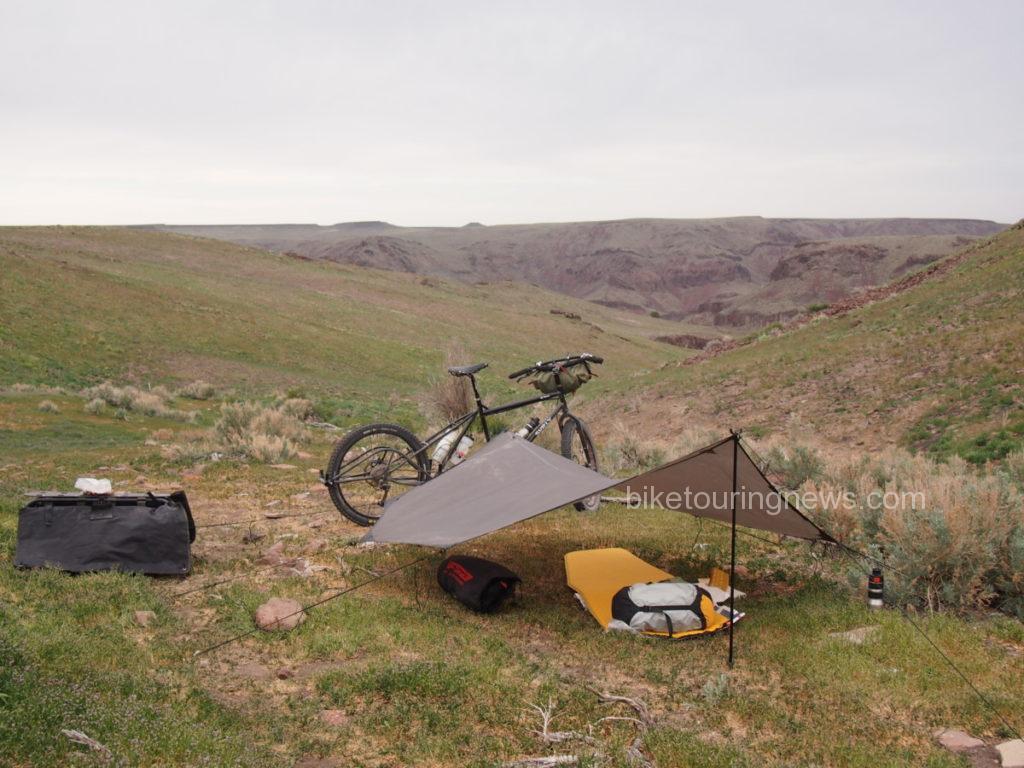
The Clickstand bike support as a tent pole!
On the last couple of trips I have been using Hennessy’s SnakeSkins which stay attached to the ridge line and simple slip over the entire hammock and pad and swallow the whole thing up leaving a long, fat, nylon snake that can be stuffed into one half of a pannier. This is a much faster way to set up and take down the hammock.

The SnakeSkins fold out of the way on the ridge line when the hammock is in use and just slide down from either end to make a quick stuff sack.
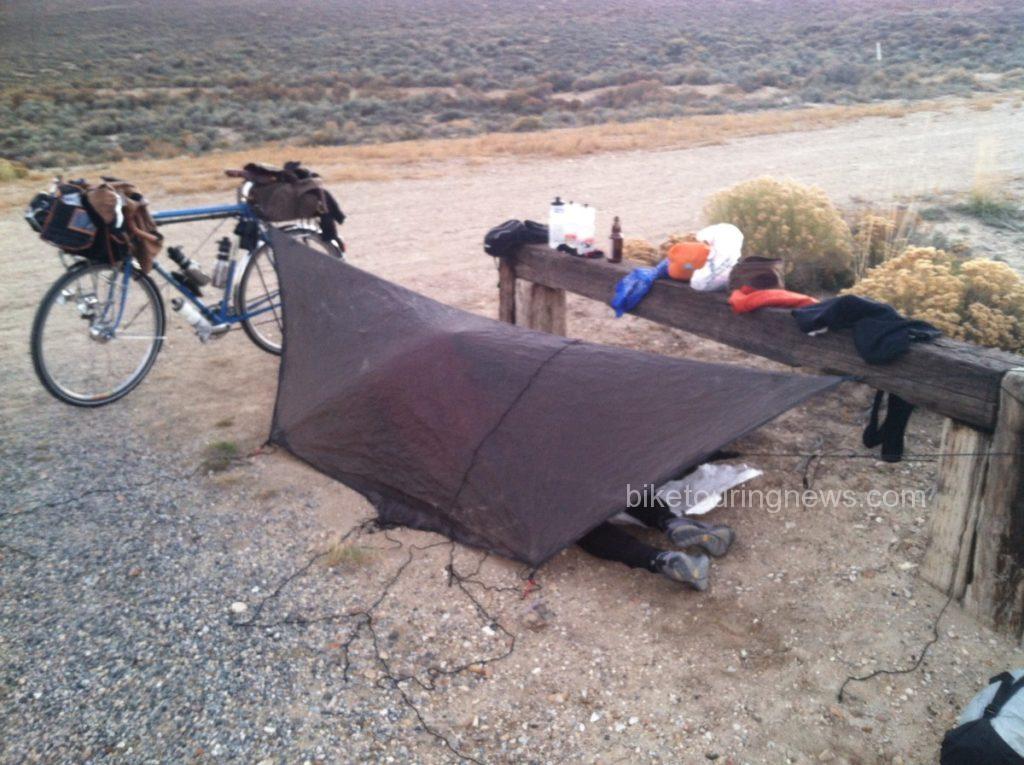
This was to be a very cold night. The fly was on top of me by morning with the weight of a heavy layer of frost. This is the Monsoon Fly.
Pros:
- Very comfortable – none of the pressure points associated with sleeping on the ground
- Warm enough for most conditions when used with the two layer insulation system
- Can be used on uneven, sloping, rocky or wet terrain
- Completely weatherproof
- No condensation
- Packs relatively small – no tent poles.
Cons:
- Can’t always be suspended
- Not necessarily lighter than a good tent
- Not ideal for relaxing – minimal interior space
- Not as private as a tent – hard to dress or undress in a hammock
- Makes some people feel claustrophobic
Sky King’s Preference: The Tent
While the Bike Hermit and Sky King are both huge fans of the Hennessy Hammock there are situations where a tent is a more practical shelter, especially in desert environs where trees are scarce. Sleeping on the ground in a hammock is an option, though one without most of the hammock’s benefits. Comparatively, a good tent offers increased comfort and space at roughly the same weight and pack size as the hammock, when divided among a team of two.
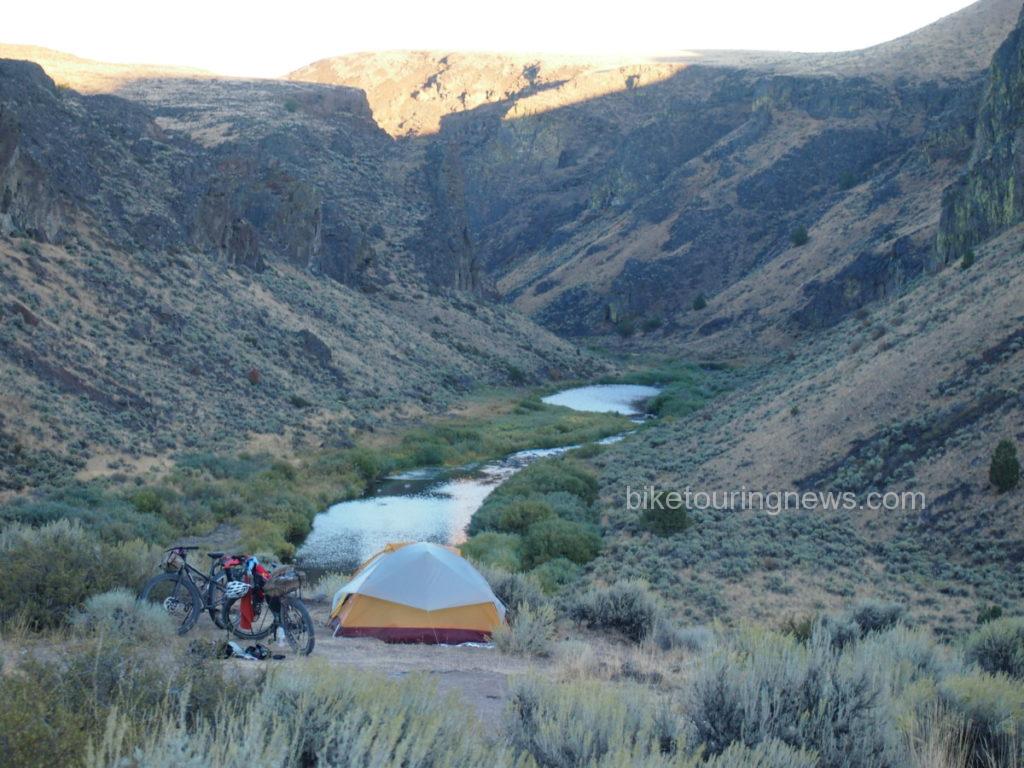
Big Agnes Angel Springs UL2 in the Owyhee Canyonlands
For our first couple of “let’s take the tent trips” we used our 3-person Kelty – a great tent. We bought it for backpacking primarily because it was roomy – with two vestibules and two doors – making for easy entry/exit and gear storage. However, it is a bit bulkier than we’d like for bike trips. We bit the bullet and now own a Big Agnes Angel Springs UL2. We gave up the double entrance, meaning someone is getting crawled over for the middle of night nature call. Like most tents, it incorporates a rain fly vestibule, allowing for a place to tuck gear out of the weather.
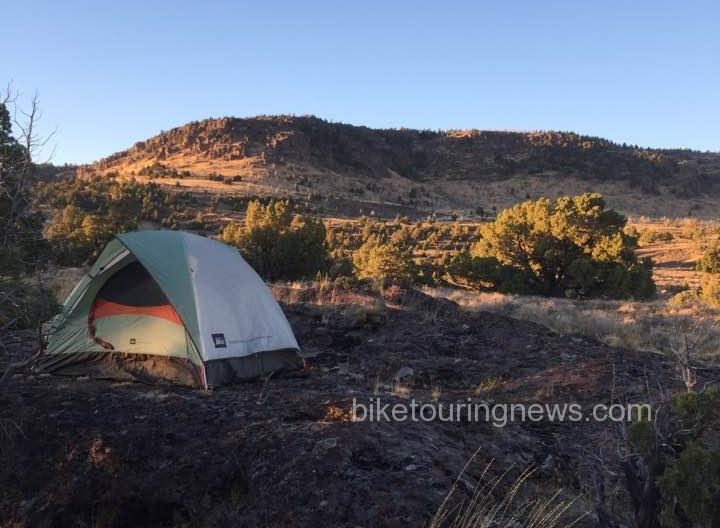
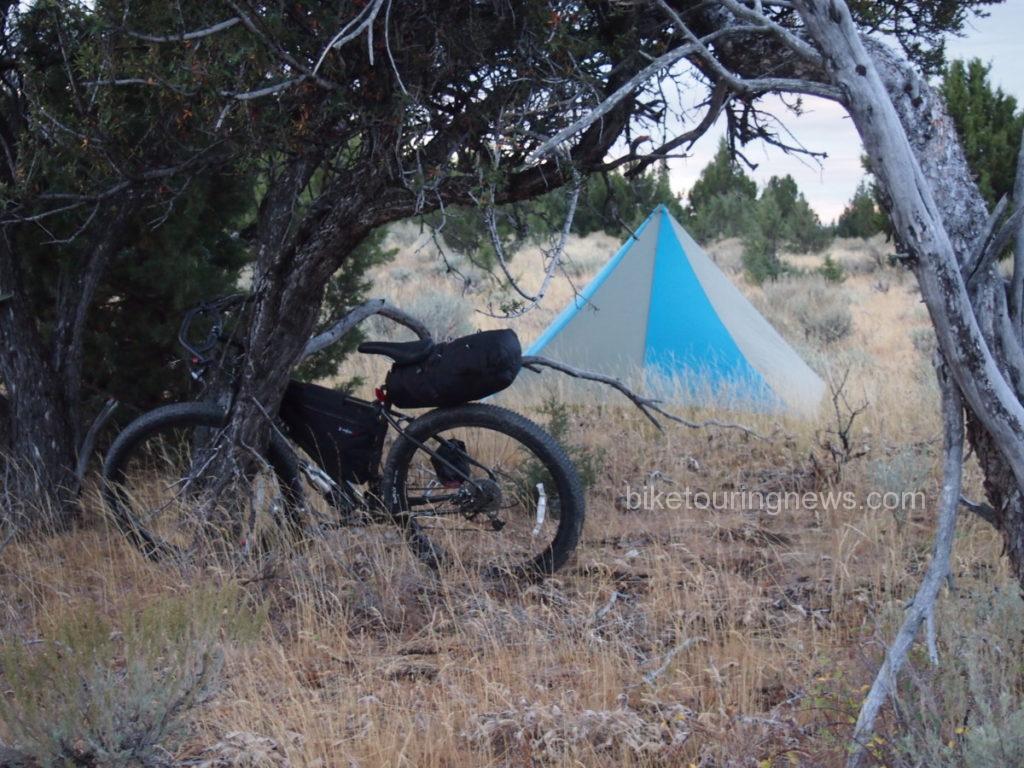
We carry the tent for most of our desert riding, especially in new terrain where we aren’t certain of the tree situation. Site selection – especially in areas where large trees are few and far between – is relatively easy with a 2-person tent. The tent’s footprint is relatively small, but very hard or soft ground can present guyline challenges. On surfaces where stakes won’t hold or can’t penetrate, you’ll have to get creative as most tents must be staked out for a proper pitch.
Weight wise, the combination of tent and sleeping pads is roughly equal to that of two hammocks without pads. We can divide the load between bikes and packed volume equates to about the same as the hammock. For teams of two who don’t mind sharing space and gear, a tent makes an appealing option. Solo adventurers may find the packed weight and size burdensome unless they are willing to spend big bucks for high-end, ultra-light models.
Pros:
- Easy entry and exit.
- Relatively easy site selection.
- Vestibule space to keep gear dry.
- Space to sit up and move around inside, especially nice if bad weather hits.
- Tent components can be divided between bikes, decreasing each rider’s load.
Cons:
- Heavier and bulkier on average.
- Higher cost for lightweight options.
- Tent poles can be difficult to pack on a bike.
- Potentially tedious and time-consuming setup and takedown.
- Condensation can be an issue in certain conditions.
Ryan’s Preference: The Bivy Sack
Bivy is short for “bivouac,” which is a fancy word for making camp. “Bivouac Bags” or “Bivy Sacks” are essentially waterproof sleeping bag covers and have been used since time immemorial by soldiers, alpinists or anyone else who needs a simple shelter that can be quickly deployed in nearly any site.
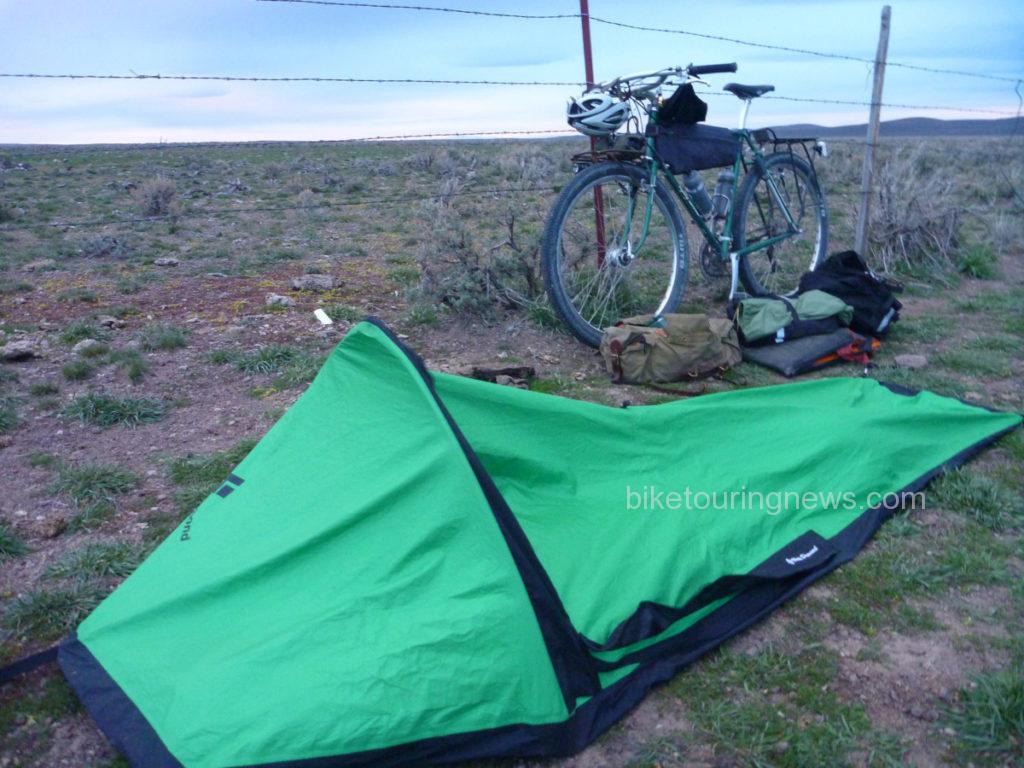
Twilight falls on the author’s campsite in the Owyhee desert.
There are a wide variety of bivy sacks on the market intended for a range of purposes. Ultralight emergency bivvies are intended to help you survive an unplanned night out. They are generally inexpensive, pack small, weigh next to nothing and offer little in terms of comfort. Some ultra-minimalist bikepackers use shelters of this type for racing but they’re planning on sleeping 2-4 hours per night, if at all.
The more fully-featured bivvies are designed for alpine climbing or similar pursuits. They typically employ sturdier construction, waterproof/breathable fabrics and may even incorporate some kind of additional structure to increase space and ventilation. If you’re looking for a full night’s sleep or expect anything other than perfect weather, this is the way to go.
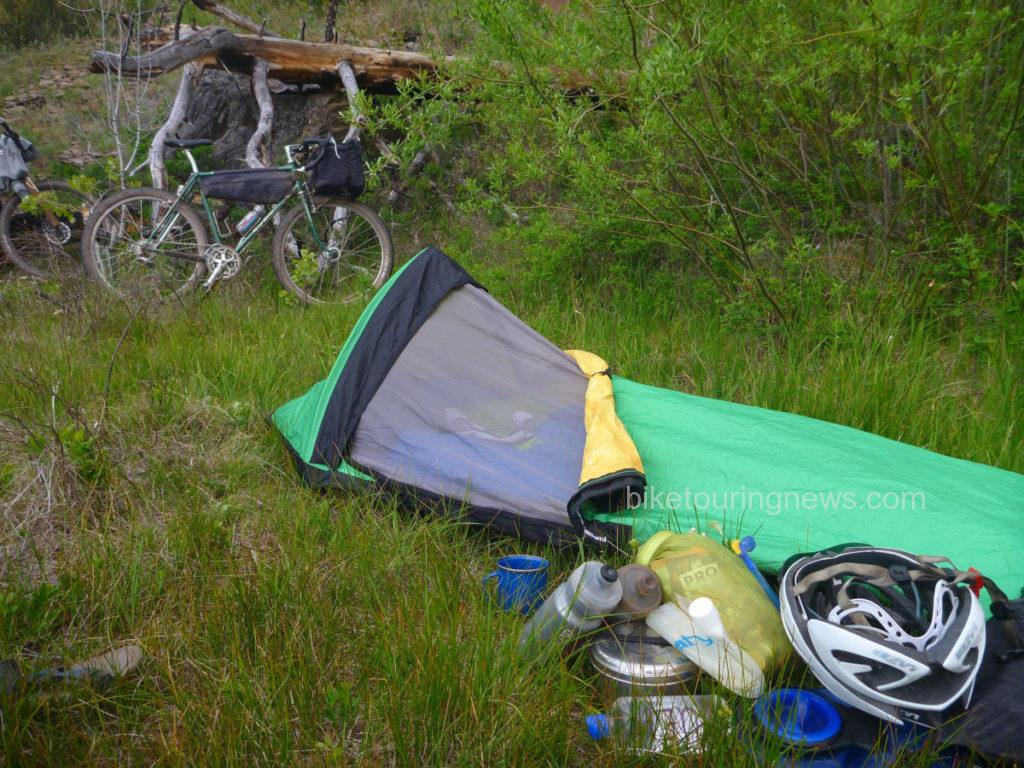
The insect mesh on some full-featured bivvies can be a major plus in buggy locations, such as this creekside camp on the 2014 Oregon Outback.
Even though a full-featured bivy can weigh as much or more than an ultra-light tent, it is significantly less expensive, more durable, simpler to pack and ultimately easy to deploy. For me, this is the bivy’s main advantage. Any piece of level ground large enough to lay on can be your campsite and the shelter is ready to use within seconds. This allows you to spend more time riding and exploring rather than searching for an appropriate site to pitch your tent, hang your hammock or fly your tarp. No stakes, guylines or trees required! There is also nothing quite like laying on the earth with no roof over your head and watching for shooting stars on a clear night while you drift off to sleep!
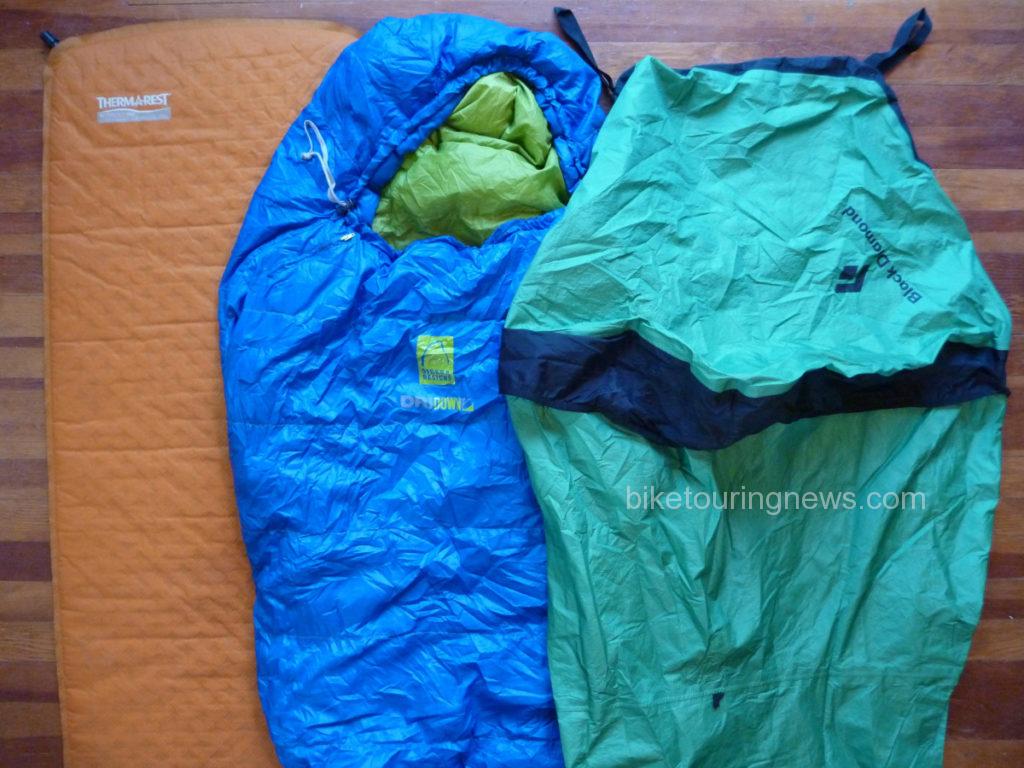
Sleep kit for the 2014 Smoke ‘n’ Fire 400. Simple and reliable.
A good waterproof/breathable fabric is the key to the bivy’s success. The fabric used in my Black Diamond Bipod Bivy features a fuzzy, nappy surface on the inside, allowing it to absorb moisture and disperse it across a wider area of fabric. This prevents droplets from forming and speeds moisture transport through the fabric. I have had some condensation form on the floor panels (made from a different, less breathable material) but never on the upper portion of the bag. I highly recommend that any bivy you purchase feature similar technology.
Also, consider the volume of your sleeping bag and pad. You’ll lose the loft and warmth of your sleeping bag by cramming it into an undersized bivy, especially around the foot. If in doubt, go for a larger size. This is especially true if you plan to use a thicker, inflatable pad or a winter-weight bag.
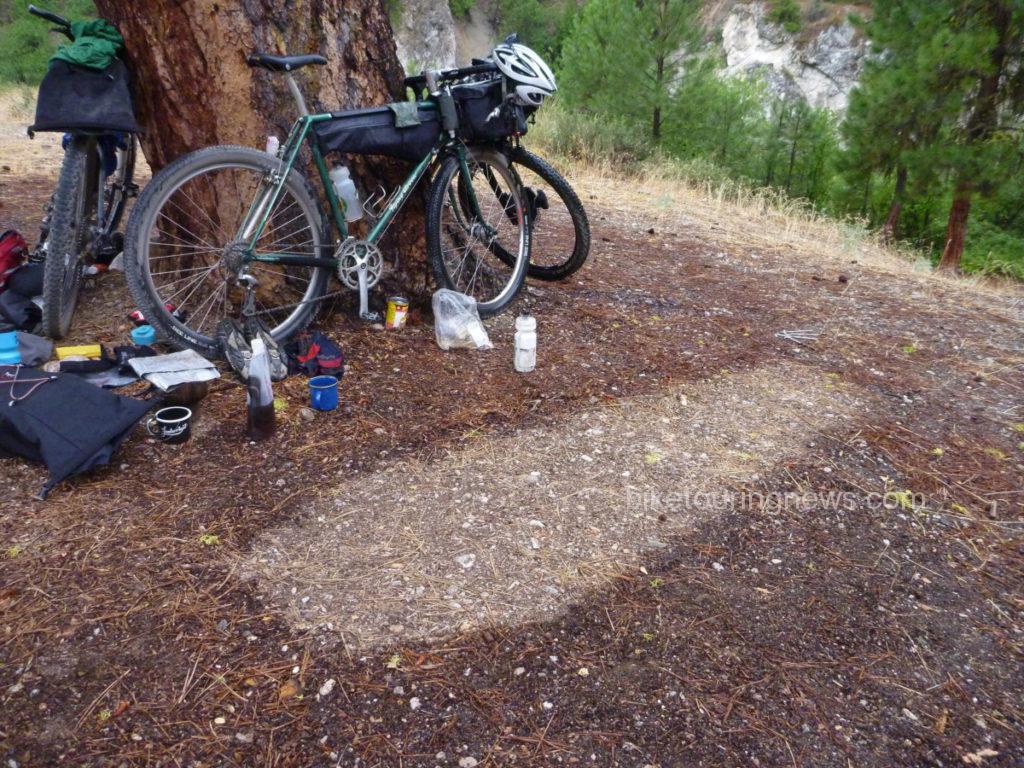
A coffin-shaped rain shadow after a wet night on the Idaho Hot Springs Mountain Bike Route. Should have packed the tarp!
Even with the best breathable fabrics, it is always best to keep any bivy at least partially unzipped to allow moisture to vent out, especially if you’re going to bed wet or attempting to dry wet gear in the bag overnight. Therefore, it is wise to bring along a tarp to create additional shelter if you expect wet conditions. A tarp flown over the bivy allows you to leave the head open to vent moisture and prevent claustrophobia. Nobody likes sleeping in a waterproof coffin (see photo above). The tarp will also provide shelter for cooking, changing clothes, packing or other camp chores. I use a simple 8×10′ silnylon tarp that packs to the size of a softball and weighs around 200g.
Pro:
- Easy Site Selection
- Ultra-Fast Setup & Takedown
- Simple Packing
- Inexpensive
- View of the Sky!
Con:
- Claustrophobic When Zipped
- Minimal Interior Space
- Condensation Issues
- Loss of Loft in Sleeping Bag
- Not Particularly Light
Conclusions
As we’ve learned, every different shelter has its merits and a set of ideal conditions for use. You should select your bikepacking shelter taking those merits and conditions into account, along with your personal preferences and budget. Every bike traveler is different, and so is every journey! We hope this post has provided some guidance and that you’ll have many comfortable, peaceful nights out on your bikepacking trips!
What did we miss? What shelter(s) do you use and why? Let’s keep the discussion going in the comments below! Thanks for reading!
Ryan Hofstwtter April 28, 2017, 10:19 pm
I have always thought that the Alpine Hammock would make a good bike touring shelter. It is more or less a bivy that can be hung like a hammock if there are trees. It has an integrated bug net and weighs about 3 pounds. Check it out.
http://www.alpinehammock.com
Sky King April 30, 2017, 9:06 am
That does look interesting, we’ll have to research, thanks
fabian May 3, 2017, 3:47 am
i love Ferrino light tent
Jerry February 2, 2018, 8:21 pm
While I’d consider a hammock or a tarp, my preferred shelter continues to be a one man tent. Small enough to sleep in comfortably and to sit up in and mine has a vestibule large enough store some gear. Plus a tent has the advantage of keeping mosquitos and other insects at bay The last thing I’d use is a bivy sack. I find it confining, difficult to get in and out of and not where I’d want to spend a couple of long rainy days. But each to his own.