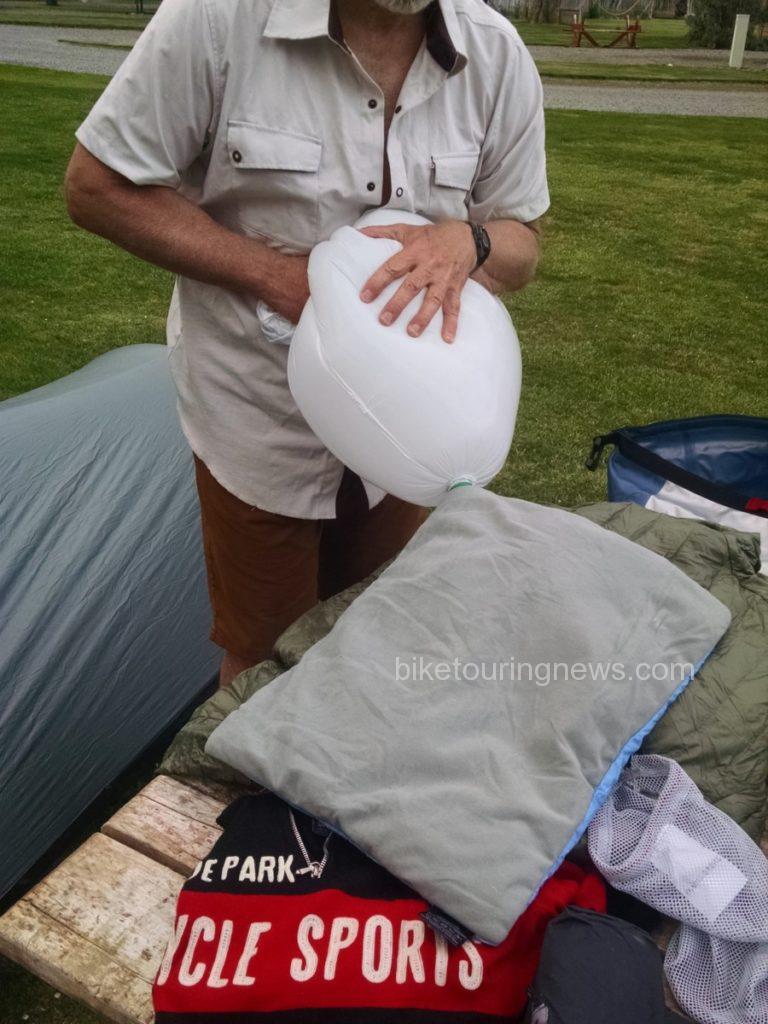
The DIY air mattress bellows pump: light, cheap, effective and recyclable
D.I.Y. Garbage Bag Bellows Air Pump
The outdoor gear maker Big Agnes makes a combination stuff sack/sleeping pad pump called the Pumphouse. It sells for $19.95 on their website. A quick Google search reveals several videos detailing how to make one out of a plastic garbage bag, an empty plastic bottle and a garden hose rubber washer. Conveniently, the outside diameter of the input valve on many back packing and bikepacking sleeping pads is 5/8″ or so; the same as the inside diameter of a garden hose washer. So the rubber washer will just fit snugly when slipped over the valve. Here’s how to make the bellows:
– The plastic bottle cap to be used needs to have a diameter of around 1″. Drill a hole through the center of the bottle cap just a little bit larger than 5/8″. (drilling this hole is easier with the cap still on the bottle).
– Cut the neck of the bottle off just below the cap and below the little drip ridge on the bottle. Use sandpaper to clean up all the rough edges.
– Cut off a small corner of the garbage sack to make a golf ball sized hole.
– Take the lid off the short section of the bottle neck and poke the corner of the garbage bag with the hole in it up through the neck. Fold an inch or so of the bag down around the threads and screw the cap back on. Now the cap with the hole in it should slip over the valve on the sleeping pad and the rubber washer will create a decently air-tight seal.
– Open up the top of the bag to trap air inside it and quickly fold and twist the top together to make a big balloon. Then squeeze the air out and into the sleeping pad.
Besides being quite a bit easier than blowing up your pad by mouth, this system has the added advantage of not introducing a bunch of moisture into the pad, which reduces the thermal insulation properties.
A Visual (and relative) Way to Gauge Tire Pressure
Our camp the previous night was in national forest about a mile down an unpaved road. After rolling on the asphalt for about an hour in the morning we took a break and I noticed that there was a black stripe around our tires, contrasted against the dust left on the casing and sidewalls of the tires. These stripes defined the width of the contact patch between the asphalt and the tires as the tire deformed under the weight of bike and rider. The stripe on the rear tire of my bike appeared to be a little bit wider than the stripe on the front tire. For handling and tire wear I prefer to have roughly the same amount of deformation and resultant tire contact patch width on both tires. On a loaded bike with more weight on the back tire, that tire will need more air. I put a few pumps into the rear tire to equalize things a bit.
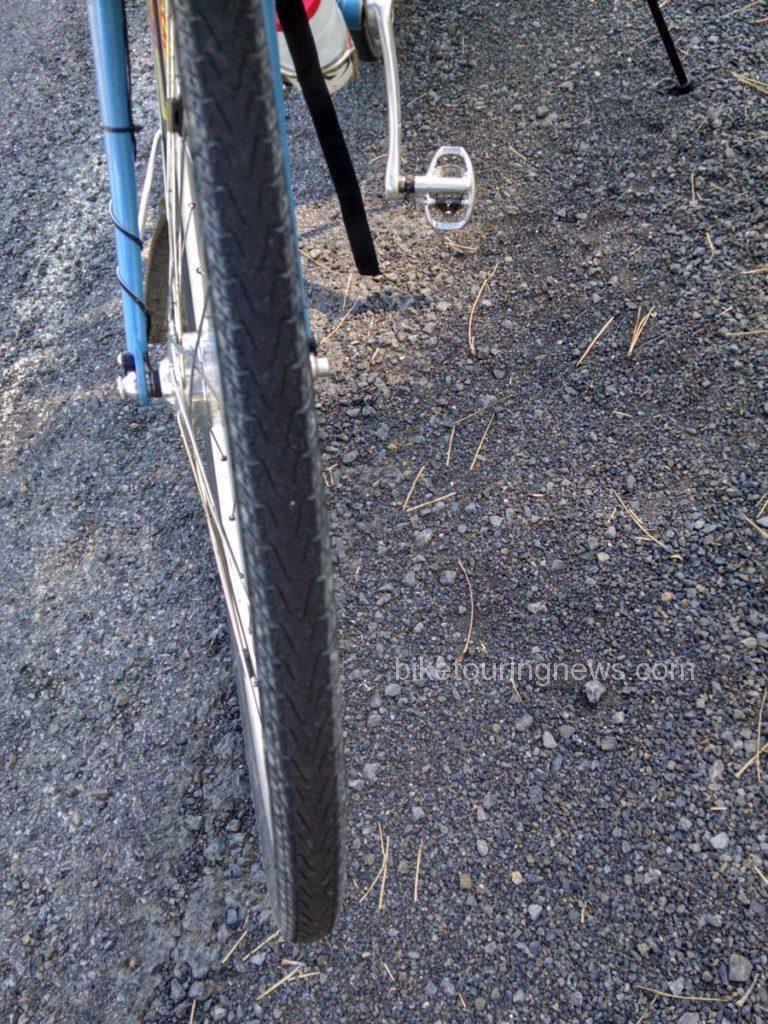
Front tire contact patch. You can see the black stripe of the asphalt against the dust from the gravel road on the sidewalls
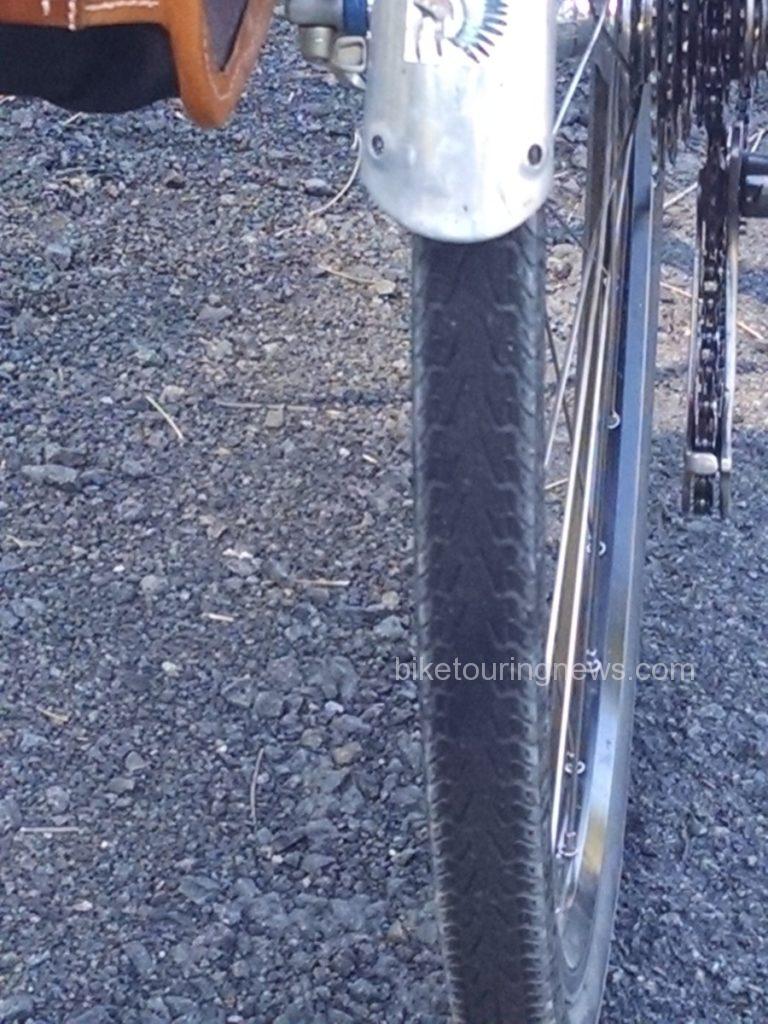
The contact patch of the rear tire as indicated by the black stripe is a little bit wider than that on the front tire.
Riding a Loaded Bike on a Long Descent
At the top of our first summit G. asked if I had any tips for descending at speed on a loaded bike. The only one I could think of was to gain speed slowly to see how the bike was going to handle. If there was any shimmy in the front wheel I suggested he move his hands to different positions on the bars and/or to move his butt on the saddle to redistribute his weight. No gyrations were required on his part however because his Soma Saga touring bike was designed for this type of use and was solid and predictable at all speeds. At the bottom I asked if he had any insights about descending now that he was a pro. He did say he felt like he had more control when riding with his hands on the brake hoods (he uses drop bars). Riding with the hands on the hoods also makes it easy to reach the brake levers quickly in an emergency. Some people recommend this position because the rider is able to sit up higher and create a little bit of a sail effect with the upper body to help scrub speed. And speaking of shimmy; if the bike feels unstable or squirrely at speed it could be a tire pressure issue. A few more PSI or a few less in the front or rear or both tires might cure it. On really long descents in high temperatures rim brakes can heat the wheel rims to the point where the tires will overheat and a blowout could result. This would be bad, but there is not much to be done except to be aware of the possibility and take it easy.
SPD Bottle Opener

Thanks for reading. Add your own bike touring hacks in the comments.
Johnny April 30, 2016, 2:21 am
Here are a couple of hacks I use when I bike tour.
1. Use a contact lens case for salt and pepper storage.
2. Newspaper makes a great insulation layer when you’re in need of added warmth or protection from the wind.
3. Vaseline your knuckles and face to alleviate or prevent windburn.
Great content here. I especially like the inflation bag.
Bike Hermit® April 30, 2016, 7:58 am
Johnny,
I like the newspaper idea; will have to try that in the Hennessy Hammock!
Steve Jerman May 2, 2016, 2:07 pm
Label your panniers … food, camping or whatever … with permanent marker.