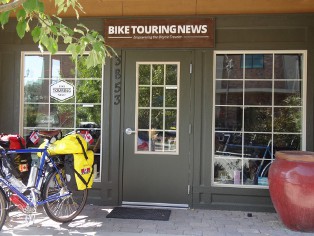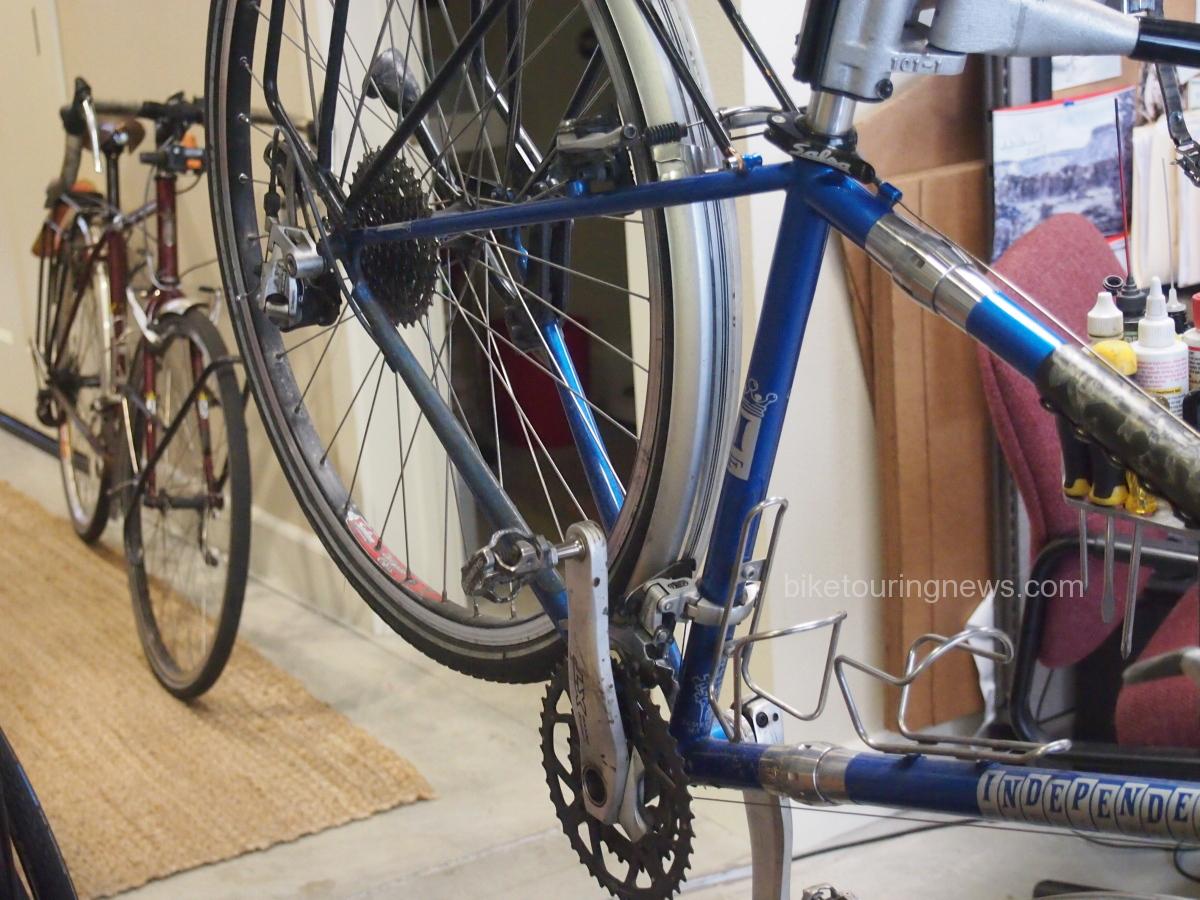
What should the cyclo-tourist do to make sure the bike is ready for a several week long bike tour? A brace of custom Independent Fabrications touring bikes were recently brought in to the shop to be prepared for a ride from Florida to New Mexico along the ACA Southern Tier route. These bikes have been well used over the years and provide a good example of what happens to components with many miles and little maintenance.
Drive Train
The rotating parts in the drive train will wear out first because- friction. And the weakest link in the drive train chain is- the chain. Chain links will not “stretch” but the pins which hold the links together, using a tight interference fit, will wear down as the links pivot around them. A chain with 116 links can elongate significantly when the pins connecting each link wear even a little bit. 800 miles of riding in sandy, wet conditions can cause enough wear to warrant replacing the chain. Even in dry conditions it’s a good idea to check the chain regularly after 1,000 miles or so. A new chain will have 1/2″ between the center of one pin and the center of the next and this can be measured with a tape measure or a specific chain wear checking tool. If there is 1/16″ or more elongation over 48 or so pins, which would be 24″, then it’s time to replace the chain before it starts to wear the teeth on the chain ring(s) and cassette cogs to the point that a new chain won’t match the new tooth profile.
In this case the chains on both bikes were worn to the point that there was no question that the chain rings and cassettes would all need to be replaced.
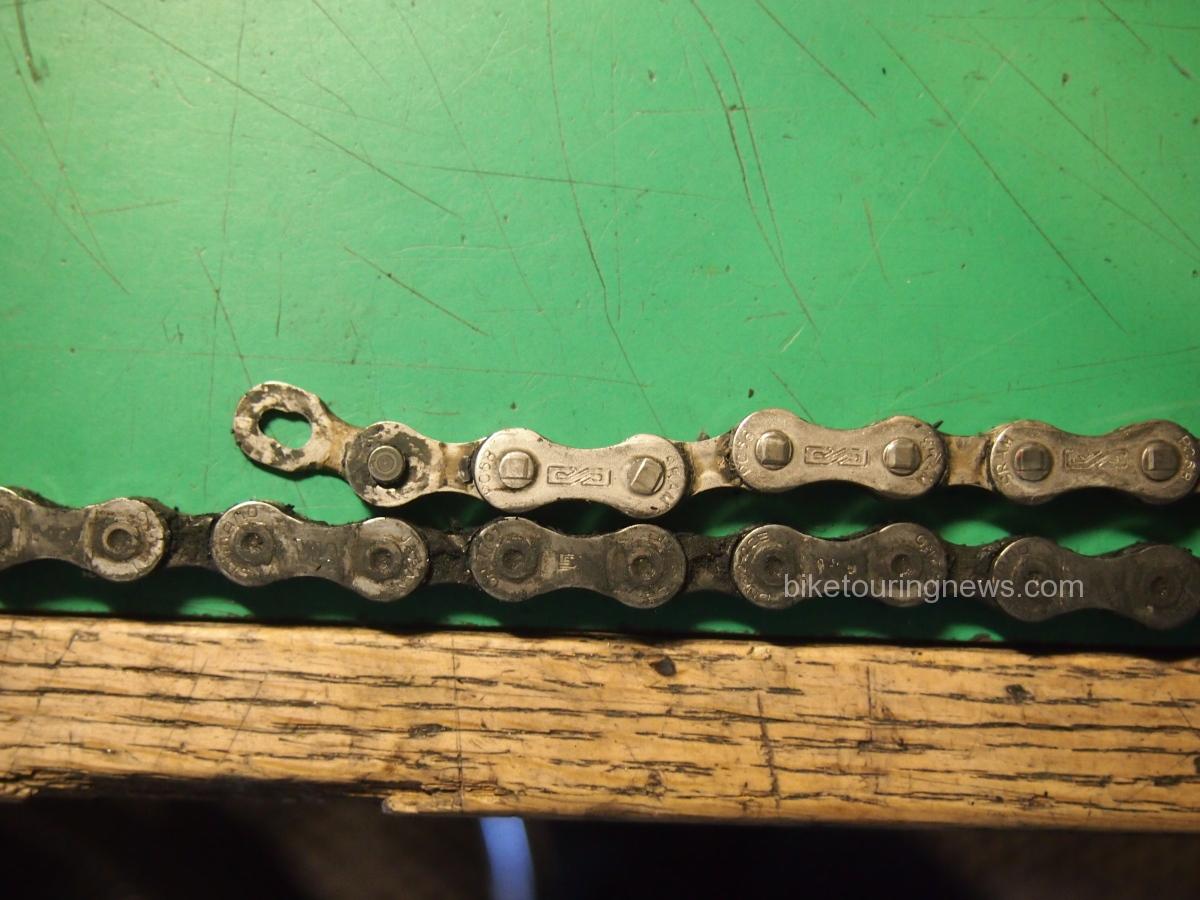
I lined up the pins on the old chain (bottom) with the pins on a newer chain, then checked the opposite end……….
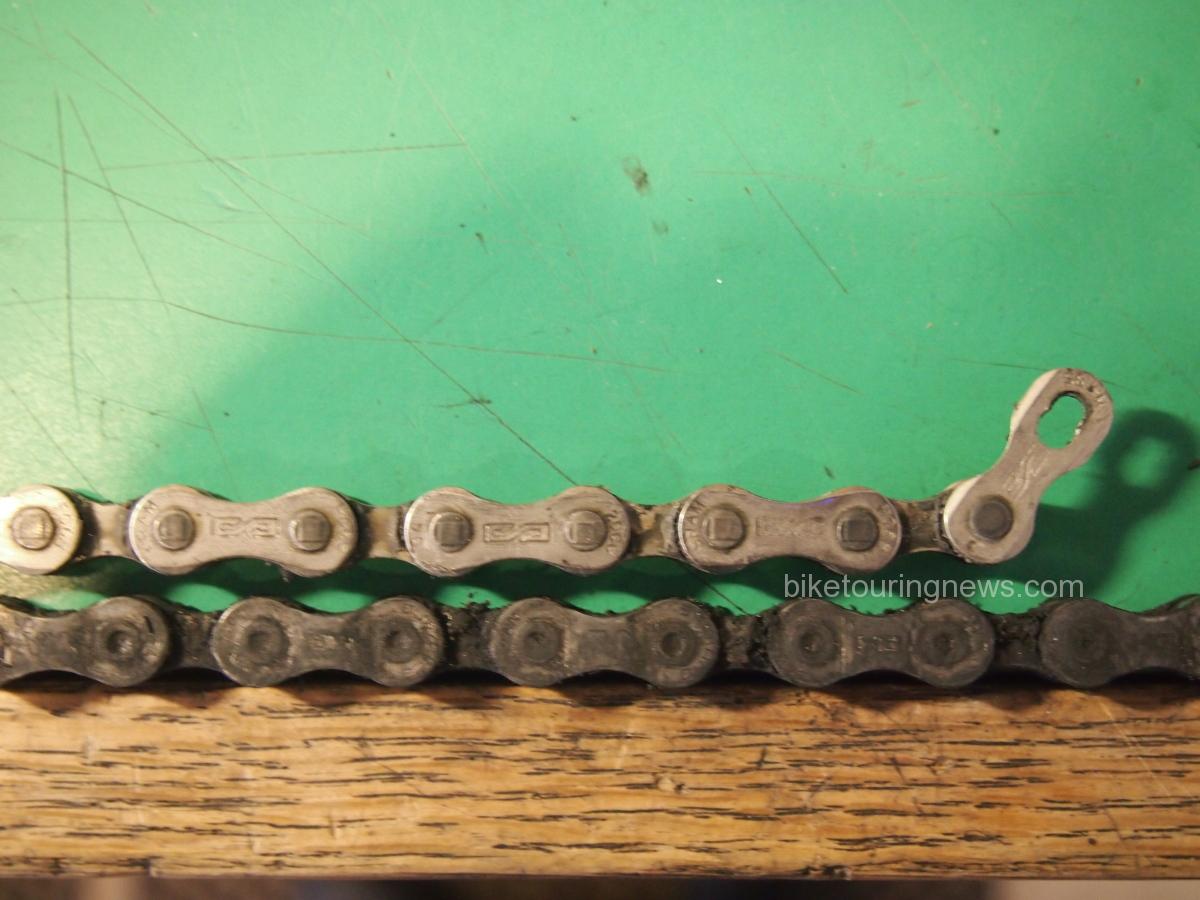
The older chain on the bottom has elongated in overall length by over half the length of one link
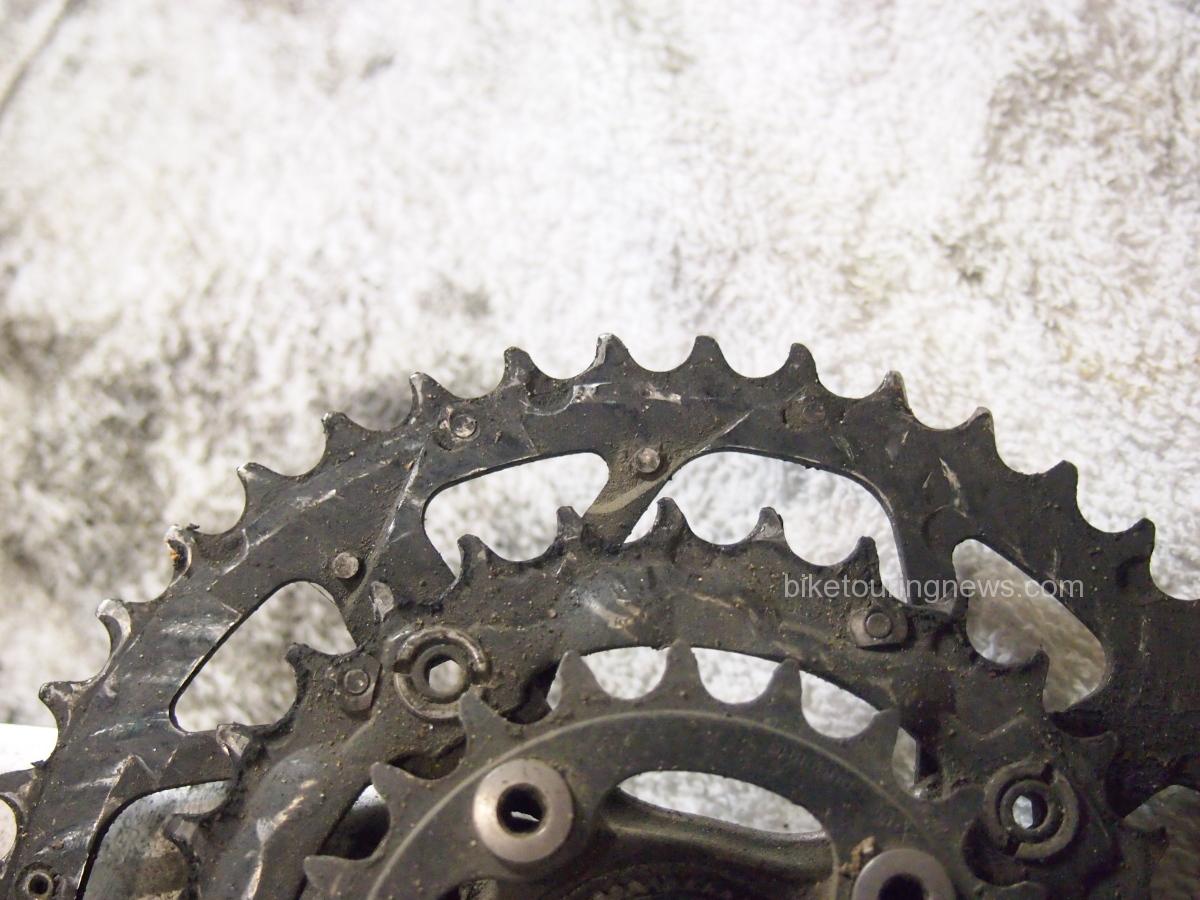
Notice the shark fin shape on most of the teeth on the old, worn rings. These now have a profile, or pitch, which will not match the pitch of a new chain
Replacing Chain Rings
To replace chain rings the crank set needs to come off the bike. There are several different standards for crank interfaces and each one of them requires a specific tool to remove the crank set. There are also varying chain ring bolt patterns across crank makes/models. Replacement chain rings need to be sourced which have the corresponding number of bolts and the same “bolt center diameter” (BCD) dimension. Most chainrings can normally be used on other manufacturers cranks as long as the number of bolts and the BCD is the same, but some manufacturers make that more difficult- in some cases making some of their own chainrings incompatible with even their own cranks of the same model which might be of a different vintage (looking at you Shimano). So it is best to get the rings from the same maker as the crank and with the same model designation.
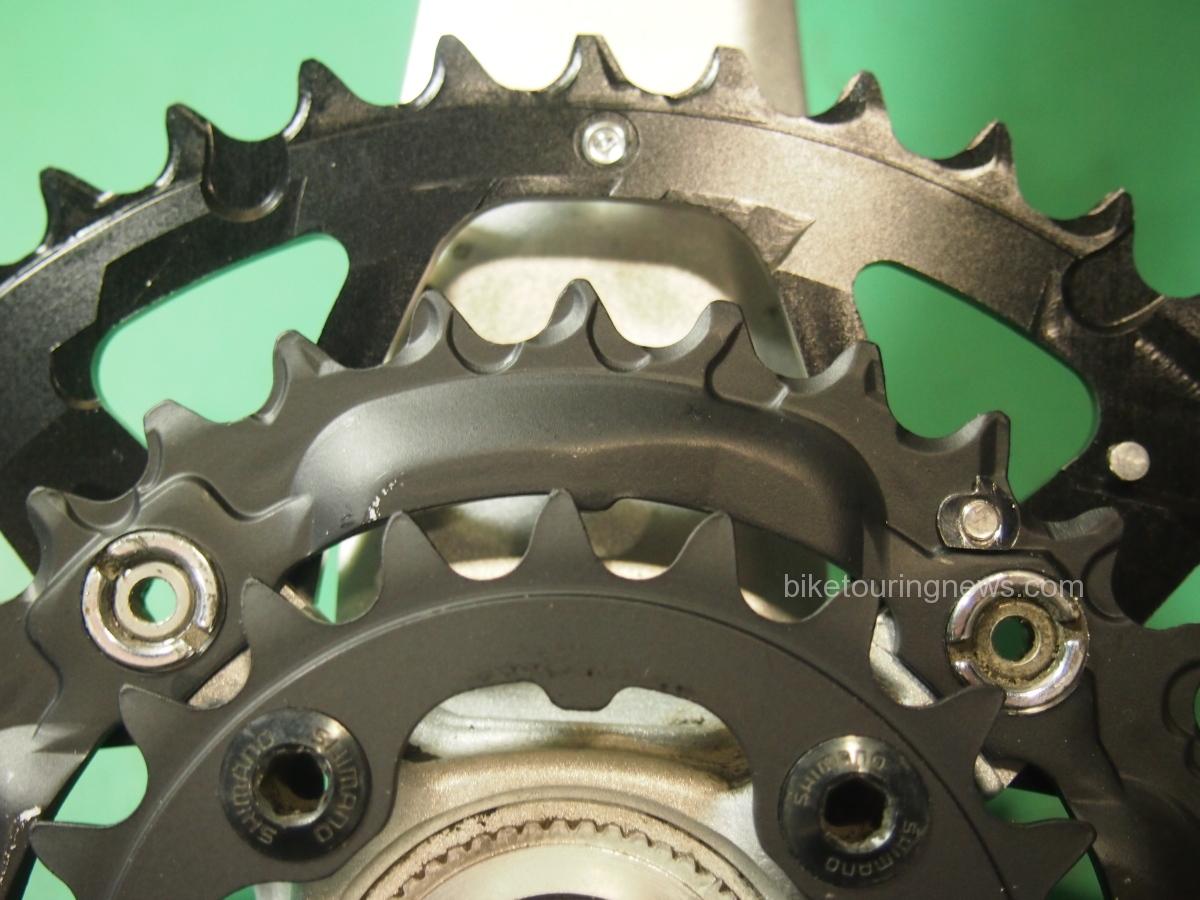
Make sure the new rings are aligned using the little tabs or pins between one pair of bolt holes
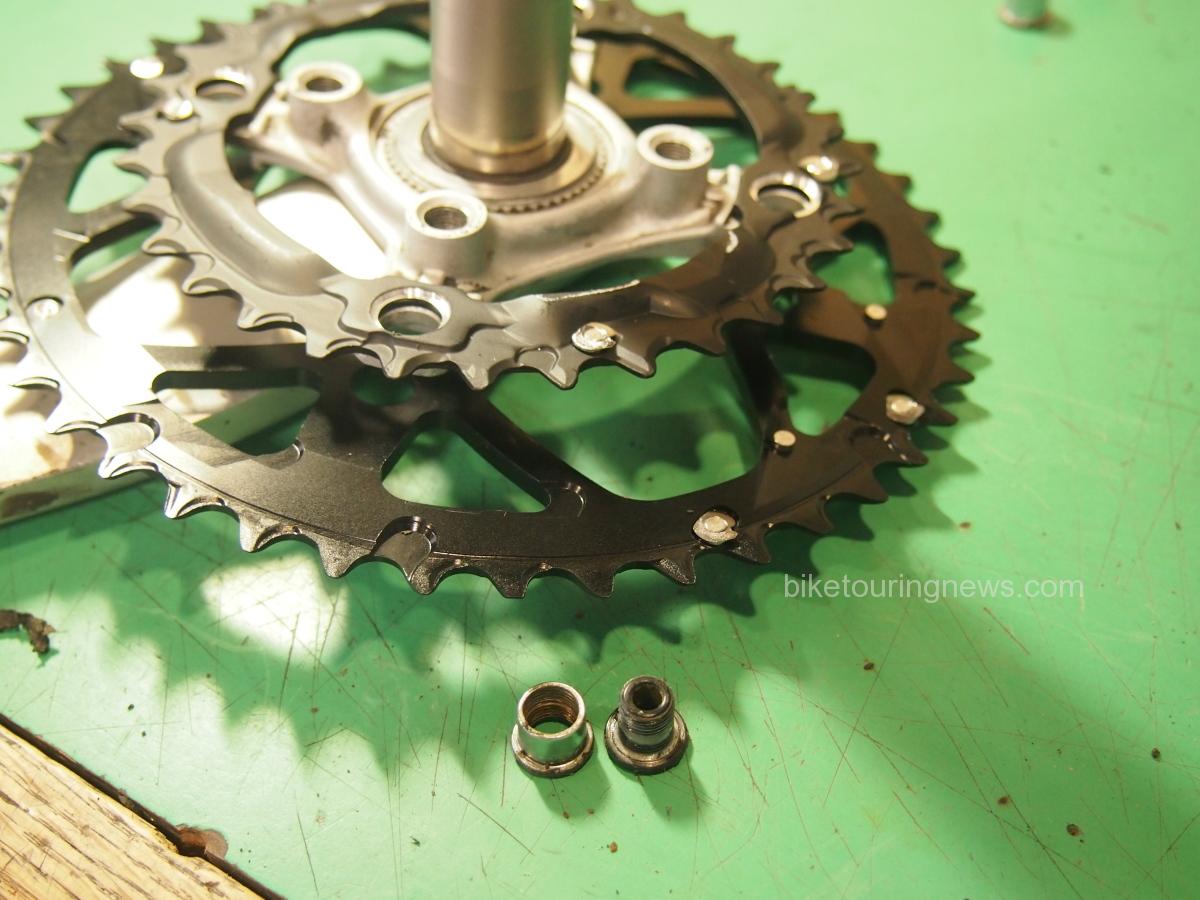
Pay attention to the bolts when removing the old rings. Put the new rings on the same way.
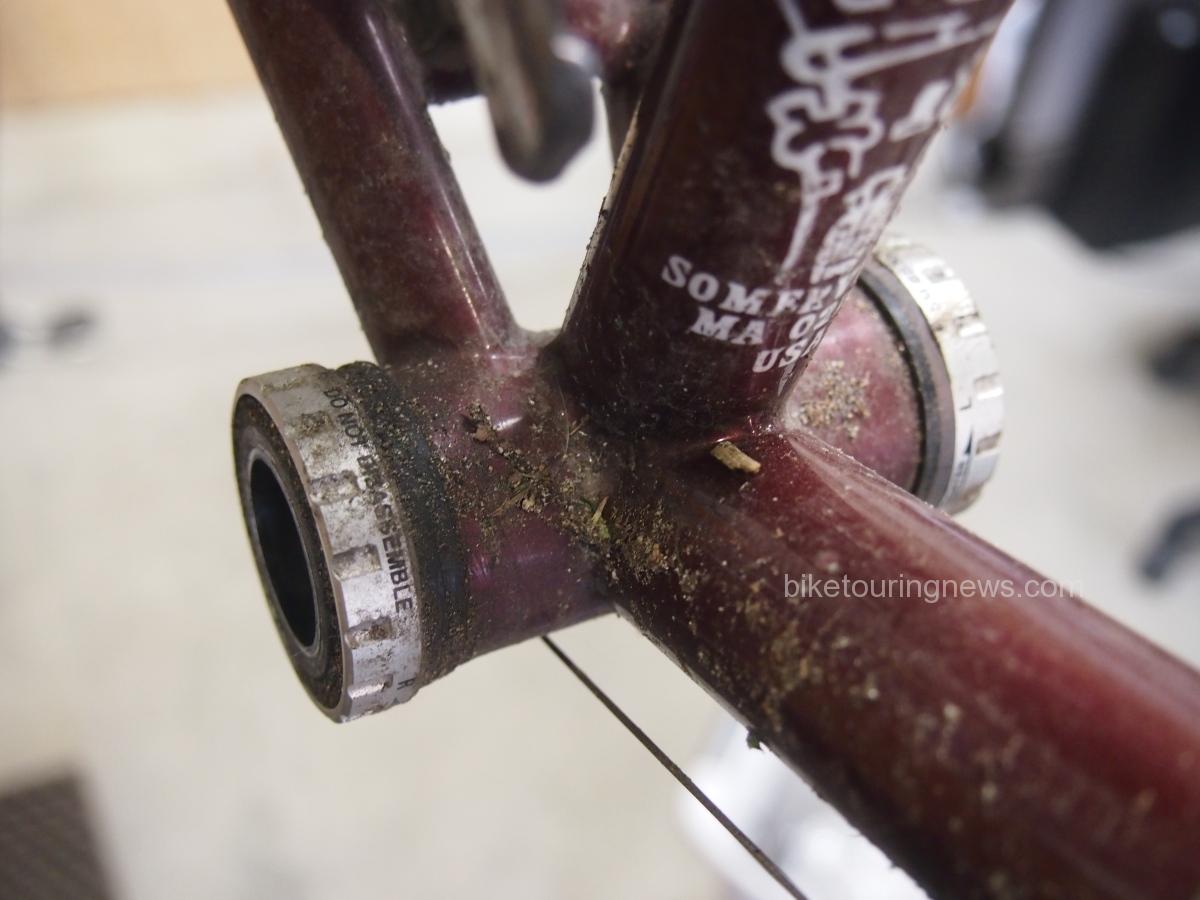
Bottom Bracket
Usually if the bearings in the bottom bracket (in this case, the external bearings in bottom bracket cups) spin freely by hand with the crank removed, the bottom bracket won’t need any attention. Sometimes it’s a good idea to take it out anyway to check the inside of the bottom bracket shell for corrosion or water. These were pretty grungy and I quickly cleaned them with a stiff brush dipped in kerosene and then wiped them down.
Eeeeyewww….
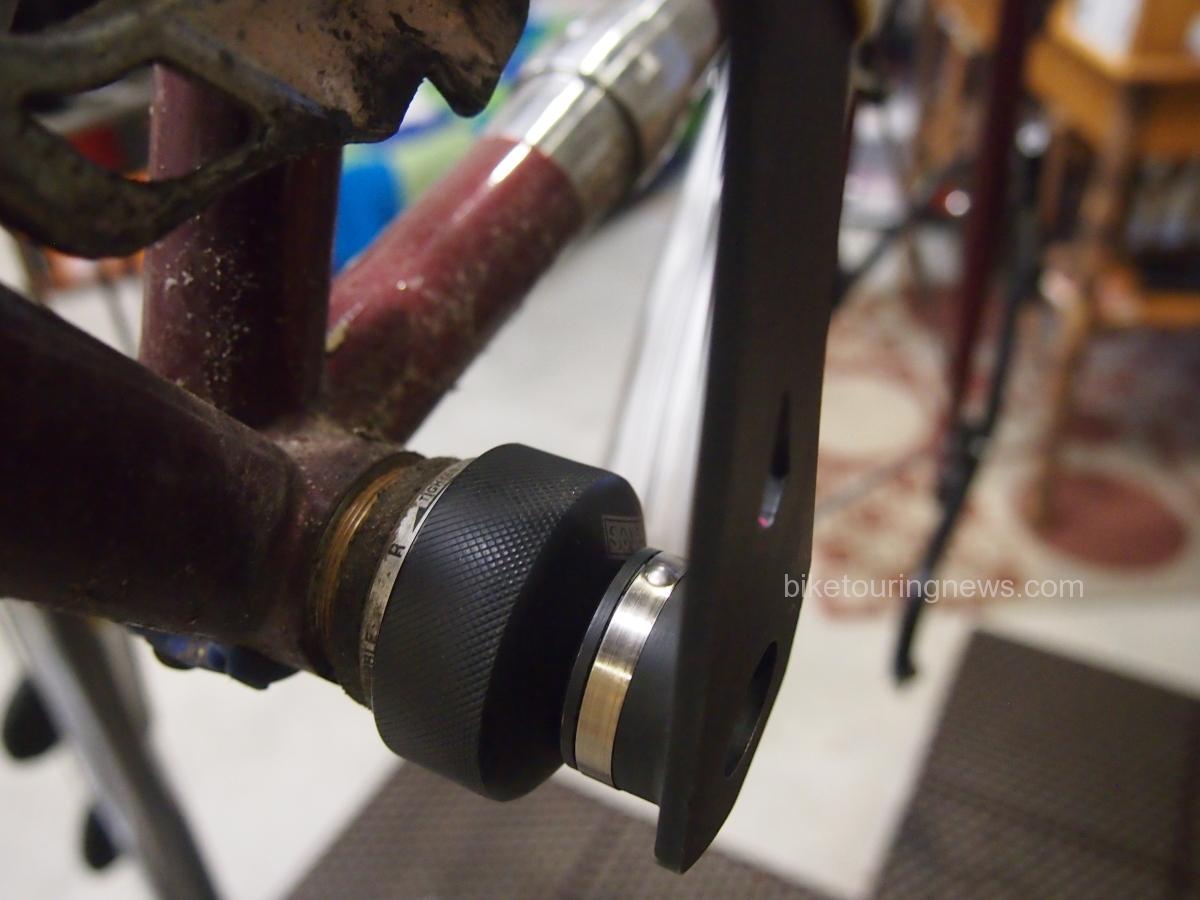
External bottom bracket cup tool
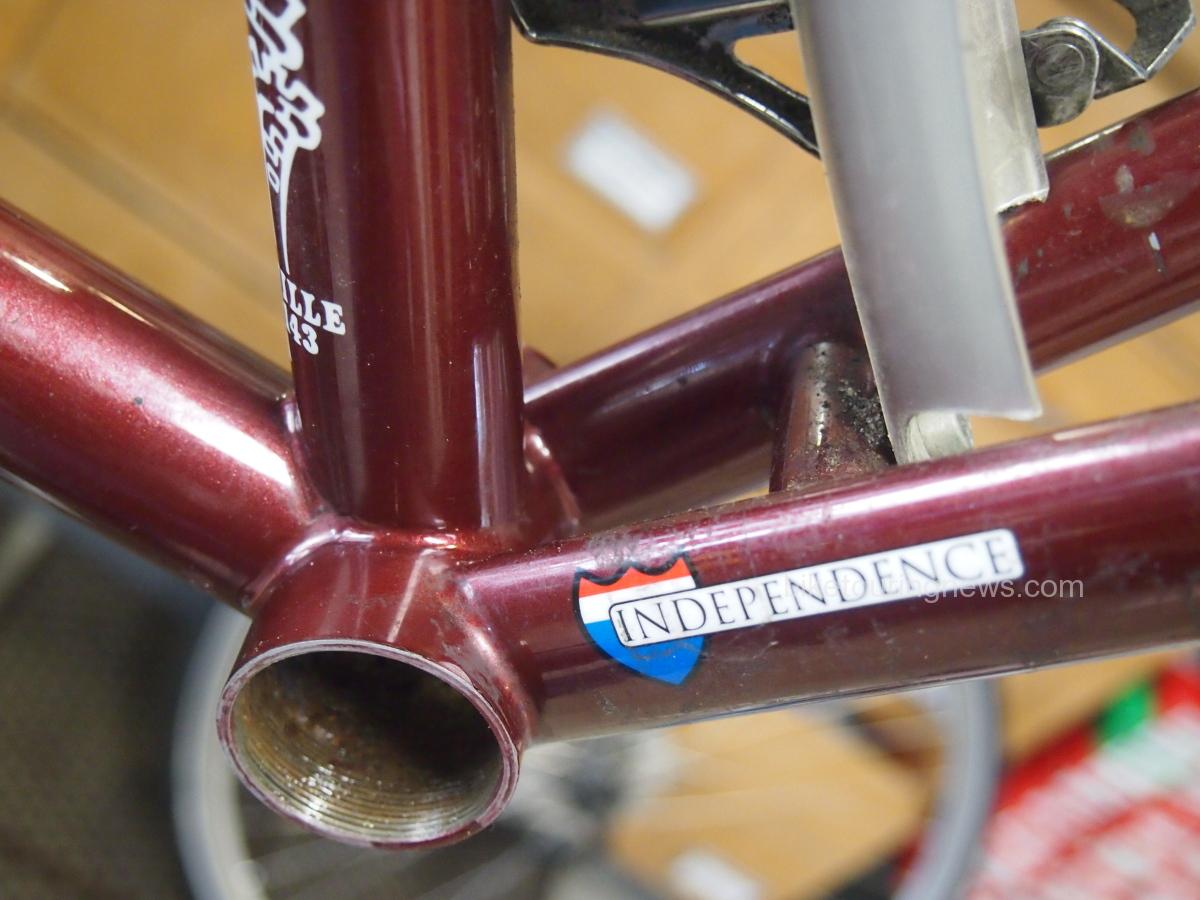
All Clean! I will clean up the internal threads as well. Now is a good time to look over this high stress area for any hairline cracks in the bike’s frame.
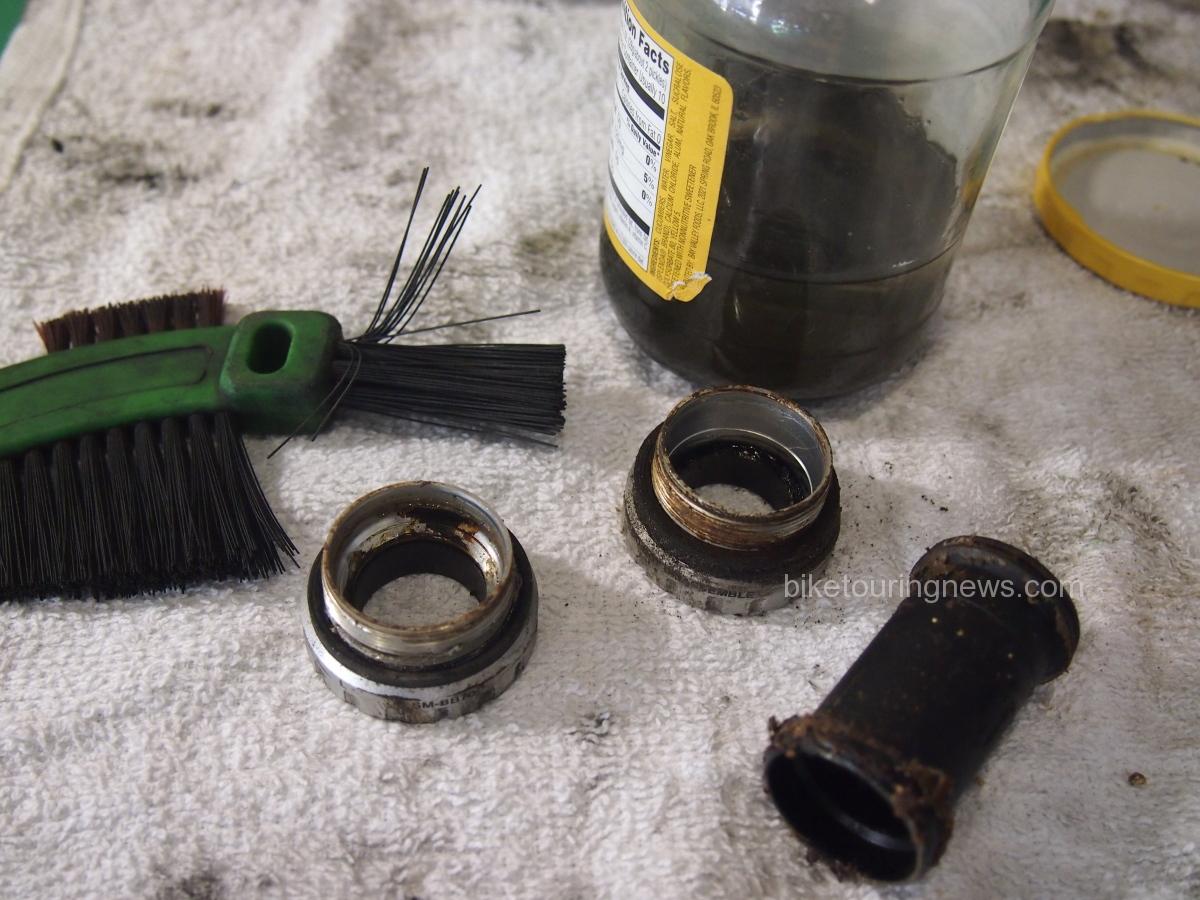
Cleaning the bottom bracket cups with kerosene, while being careful to not contaminate the sealed bearings.
Cassette
Judging by how worn the chains were on these bikes it was assumed the teeth on the cogs of the cassette were worn beyond salvage, and so the cassettes were replaced. Details for that procedure are outlined in this post.
Wheels
As outlined in this post, brake pads grinding the side of a rim can, over time, wear the walls of the rim so thin that the wheel fails. The wheels on these bikes showed significant rim wear and, upon further inspection, the rims were actually cracked at the spoke holes. Needless to say, new wheels were laced in the Hermit’s Workshop using the same hubs. The go to, economy, bullet-proof rim of choice in this case was the Mavic A319.
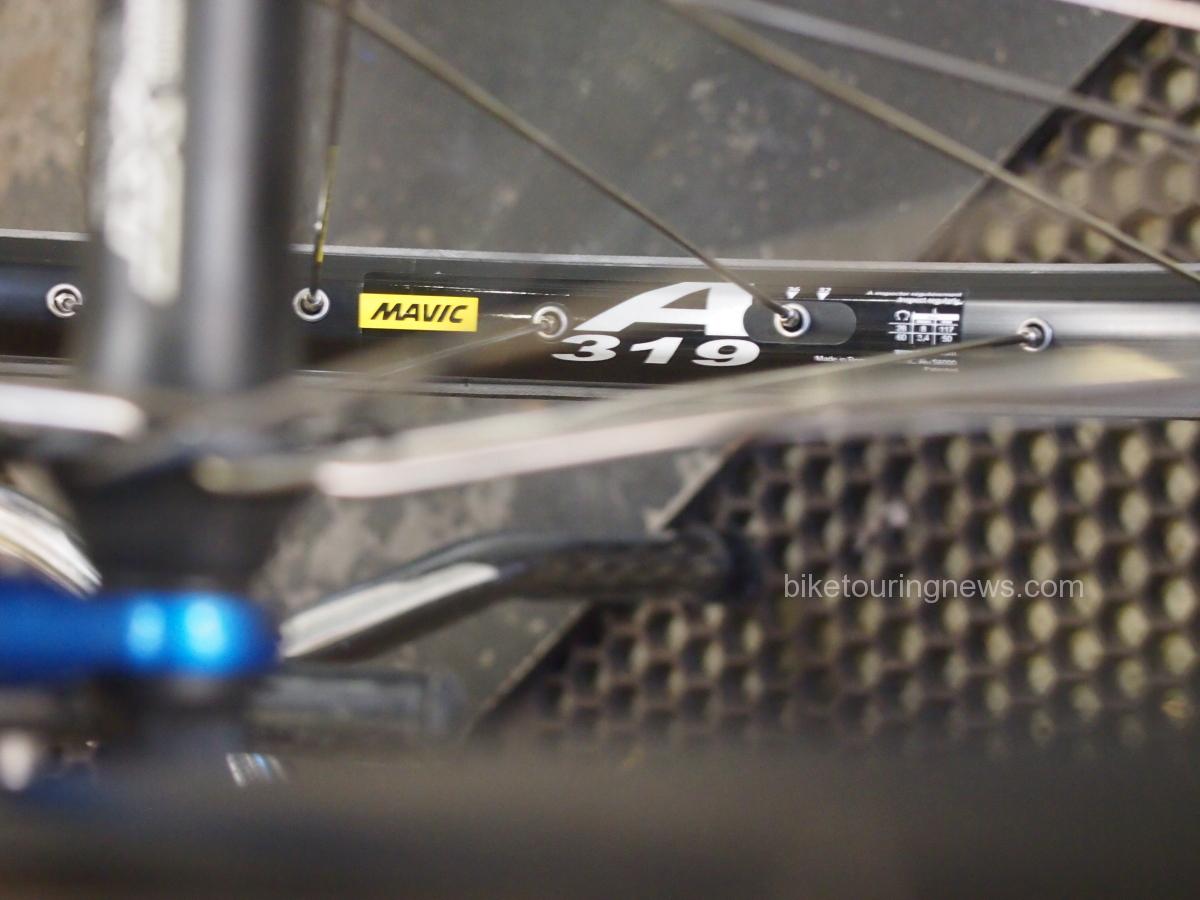
Mavic’s A319 rim. Double wall, double eyelet, tight manufacturing tolerances.
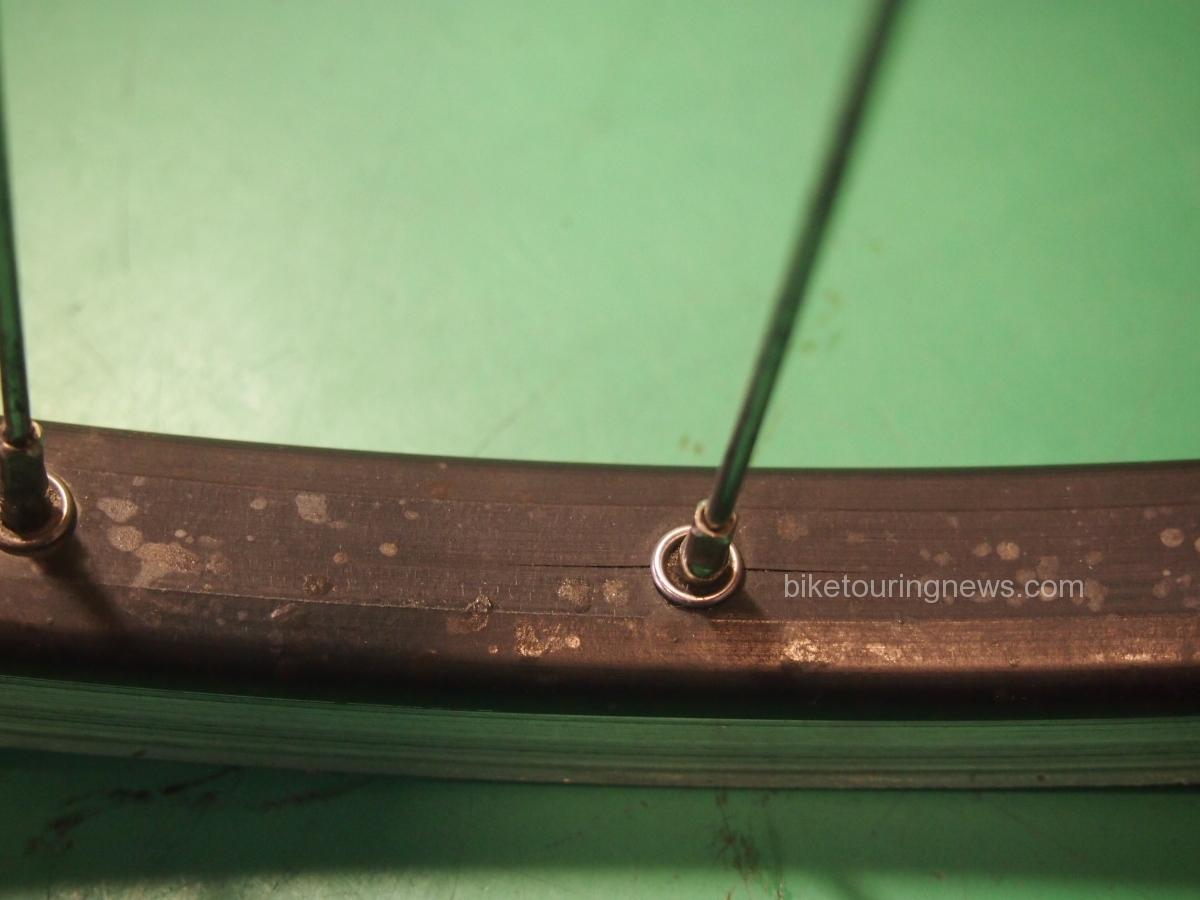
The spoke holes are a high stress area on the rim.
Shifting and Brakes
Derailleurs
As long as the springs are still stiff and there is not excessive play at the hinged points and no pieces are broken off or bent, derailleurs can be cleaned, lubed and adjusted and will be almost good as new. I use the same stiff brush dipped in kerosene to get the big chunks off, then wipe everything off before blowing the grit out of the nooks and crannies with compressed air. Dri-Slide Bike Aid lubricant is a very thin petroleum based lube that will penetrate the tiniest voids and leave a dry film lubricant. This works great on the pivot points of derailleurs and brakes.
Cables and Housing
Fresh brake and shift cable and new housing will almost always improve the shifting and braking on the bike. Kits are sold which include everything needed except for a good set of cable cutters. Standard side cutters won’t work with these stranded cables and will just create a frayed, unusable mess and they will crush the ends of the housing.
Brakes
The pads on these rim brakes were old and brittle which reduces the efficiency and is hard on the rims. These particular shoes incorporate replaceable pad inserts which are held in place with a small cotter pin. If the shoe does not have replaceable inserts then the shoe itself can be replaced. Our selection of shoes, pads and cables should cover most situations.
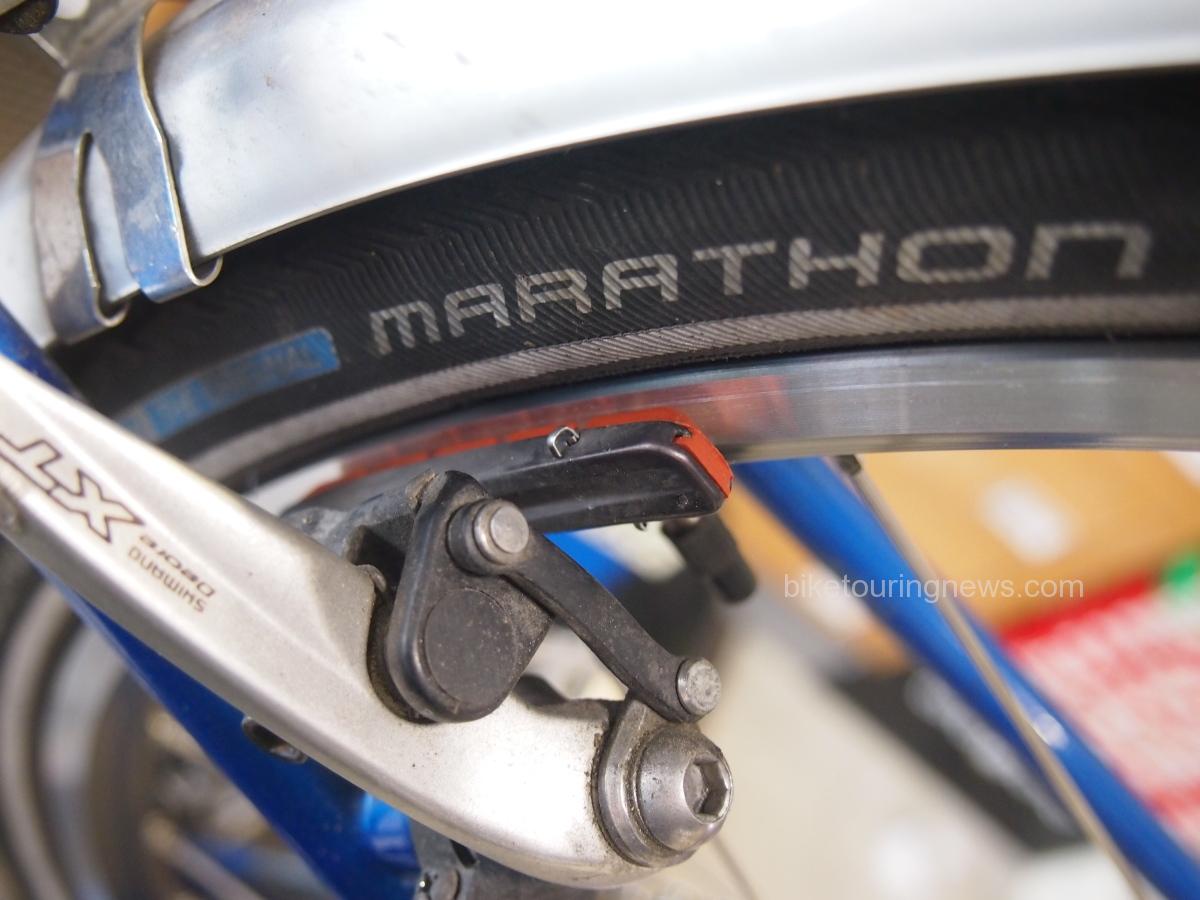
Once the little pin is pulled out from the top of the holder, the old pad slides out towards the rear. A new pad slides in and a new pin presses in to hold the pad in place.
It’s almost time to take the bike out for a test spin to run it through all the gears and make sure the brakes work correctly. But first, checking to make sure all the bolts and connectors for all the components and accessories are tightened and that everything is adjusted properly will prevent any embarrassing (or painful) mishaps on the test ride. The last step, typically, is to install new handlebar tape. Now one can enjoy the satisfaction of a job well done and the confidence that the bike will perform well on tour.