The stakes are high when traveling far into the backcountry by bicycle. The potential success or failure of your trip is (literally) riding on your wheels. A mechanical malfunction at the wrong time can leave you in a very serious situation. Like teeth, taxes or electricity, your bicycle wheels are easy to ignore when they aren’t causing problems, but can leave you in a world of pain and trouble when things go bad. Fortunately, most of these kinds of problems can be prevented by choosing appropriate equipment and ensuring it is well-maintained before heading out for a trip. This is especially true when talking about wheels.
In this post, we’ll discuss what makes a good bikepacking wheel, how to evaluate your current wheels and some points to consider when shopping for new wheels. Hopefully we’ll be able to help you enjoy your bikepacking adventures with no wheel-related malfunctions!
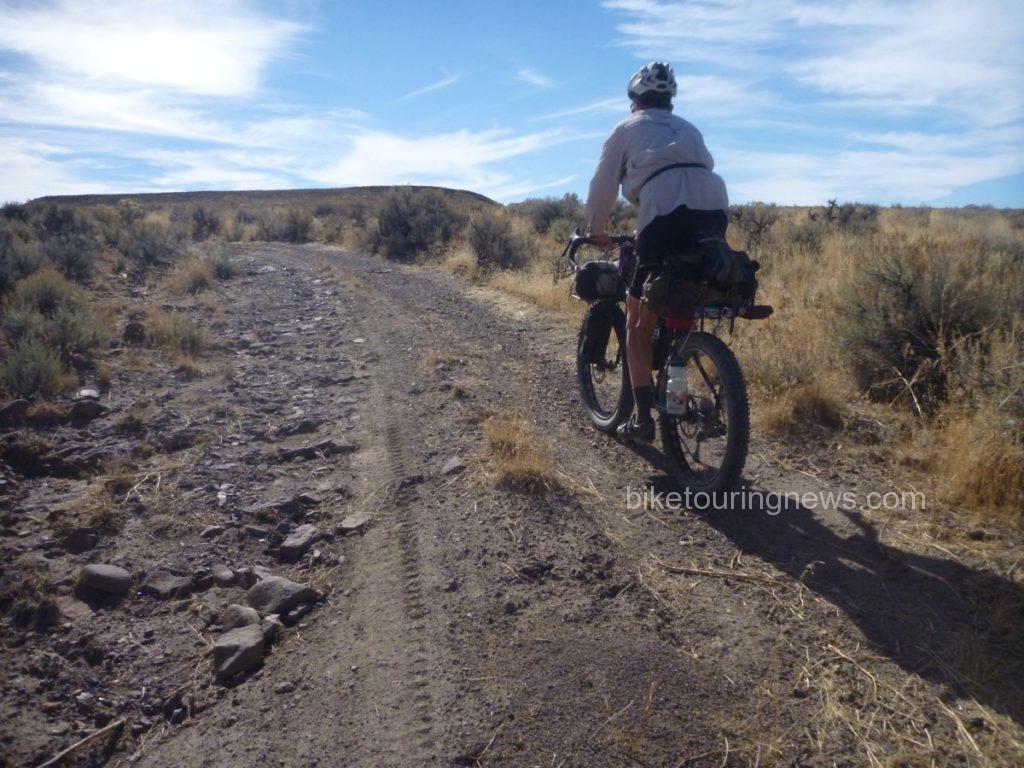
Reliable wheels are essential when traveling though rough, remote areas.
In general, we think good bikepacking wheels should be durable and reliable above all else. Gram-saving components will make precious little difference in the ride of your bike when loaded down with 35 pounds of gear and failures are much more than a minor inconvenience when you’re two days from the nearest town. Fortunately, most truly trail-worthy mountain bike wheels are built to handle pretty rough treatment and won’t suffer greatly under the added stress applied by a loaded bike. However, many lower-end wheelsets are not built with long-term durability in mind.
Are your wheels ready for bikepacking? Many stock wheelsets are not. Bike manufacturers often cut cost on wheels when spec’ing bikes for middle-of-the-curve riders. Even many high-end bikes are shipped with inferior wheels that don’t hold up to hard riding. However, it isn’t always easy to tell a high-quality wheel from a cheap look-alike. In addition, even top-flight wheels can be a liability if they’re nearing the end of their useful life.
There are a few ways to evaluate your wheels for quality and condition, so let’s get into those:
Consider their Service Record
Assuming you’ve put some hard miles on your wheels, perhaps the simplest measure of quality is their service record on the trail. So, how have your wheels performed so far? Have they needed regular re-truing? Have you broken any spokes? Do the hubs make any funny noises or need repeated bearing adjustments? If so, you’d be wise to consider repairing or upgrading your wheels before taking off into the woods. If they’ve taken some abuse with no ill-effects you’re likely to be in good shape. If you’re unsure about any of these points, a trusted mechanic can help assess your wheels.
However, just because you haven’t had issues yet doesn’t mean they won’t crop up in the future. The key here is preventative maintenance. We’ll talk more about that in a bit. For now, let’s take a closer look at your wheels and see if we can evaluate them for quality and condition.
Check Those Spokes
A spoke is a spoke is a spoke, right? How big of a difference do spokes really make? Well, imagine if the Golden Gate Bridge was built with suspension cables made from cheap steel to cut cost. Bicycle wheels and suspension bridges have a lot in common. Spokes made from poor-quality steel will have a much shorter lifespan and will be prone to breakage. Quality brands like DT Swiss, Wheelsmith and Sapim mark their spokes, either on the head (DT, Wheelsmith) or just below the j-bend (Sapim). Cheap spokes will have no mark at all or one of a handful of markings such as a star or uppercase “S” or “N”. If you’re curious, you can investigate the mark on your spokes using this extra-nerdy Spoke Head Identification website.
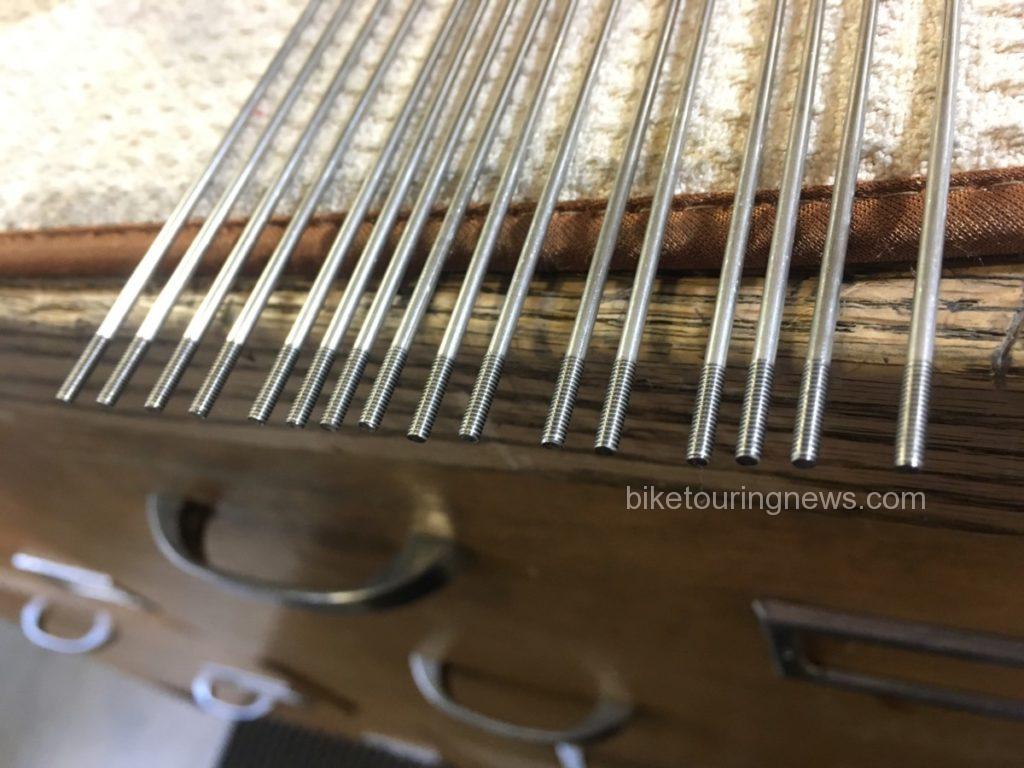
Quality spokes from DT Swiss. Their butts are visible if you look closely.
A butted spoke is also a definite indicator of quality. Butted spokes are tapered in the center and thicker at the ends. Sometimes the butts will be clearly visible. If not, you can feel for the taper by grasping the spoke near the nipple with your thumb and forefinger. Slide your fingers up the spoke and you’ll feel the diameter decrease if your spoke is butted. A butted spoke distributes stress along that slender center section rather than focusing it at the j-bend or threads, improving durability. As a happy side effect, they are also lighter.
Regardless of quality, any bent or gouged spokes can cause problems or break prematurely. Bends typically happen when an object lodges in the wheel as it turns or through impact. Gouging most often occurs on the drive-side spokes due to the chain shifting over the largest cassette cog. Cassette removal may be necessary for this inspection.
Inspect Your Rims

Rim failure can be sneaky!
As we discussed in a previous post, single-wall rims are wholly inadequate for bikepacking. Fortunately, even entry-level mountain bikes typically feature a double-wall rim. Much like spokes, the quality of a rim can be difficult to assess. Rim makers such as DT Swiss and Stan’s are at the top of the original equipment game. WTB and AlexRims are common in the middle of the range. Fortunately, even many inexpensive rims can hold up to hard riding if kept true and properly tensioned.
Of course, even the best rims will suffer the ill effects of high mileage, hard riding or abuse. If your rims have any major dents or bends you’d be wise to replace them before a big trip. Also, check the nipple seat for cracks. This is a common failure mode on quality wheels that have reached the end of their life. On a bike with rim brakes, you should also inspect the brake track for excess wear.
Evaluate Your Hubs
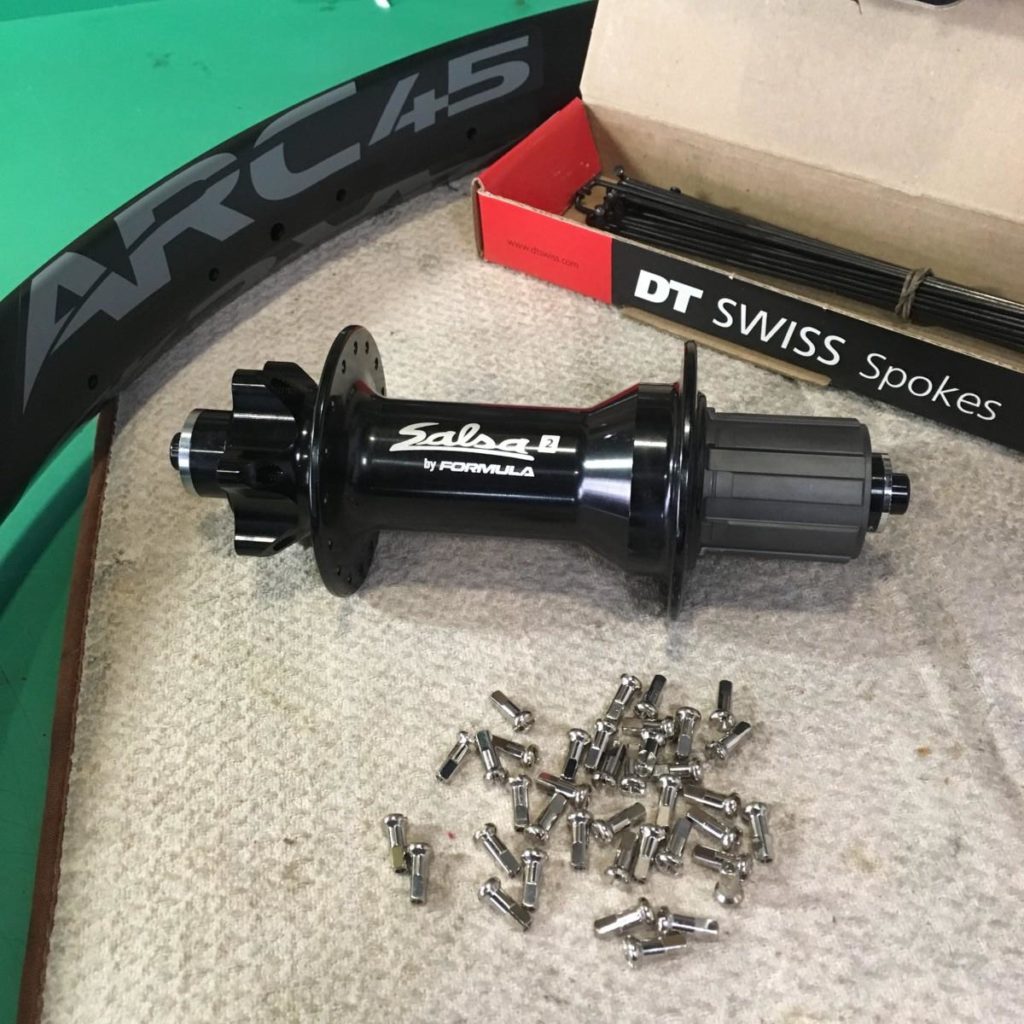
Formula hubs are typically affordable and reliable. They’re common on quality stock wheels and hand-built options.
Even inexpensive hubs rarely fail but you’d still be wise to evaluate their condition before heading out. Is there play in the bearings? Try to push the wheel side-to-side while clamped in your frame or fork. Do you feel any knocking or play? Remove the wheel and turn the axle end by hand. Do the bearings feel rough when you turn the axles? Does your freehub make odd noises when coasting or fail to engage when you start pedaling? If your hubs exhibit any of these signs you’d be wise to service them before hitting the trail.
Steer Clear of “Wheel Systems”
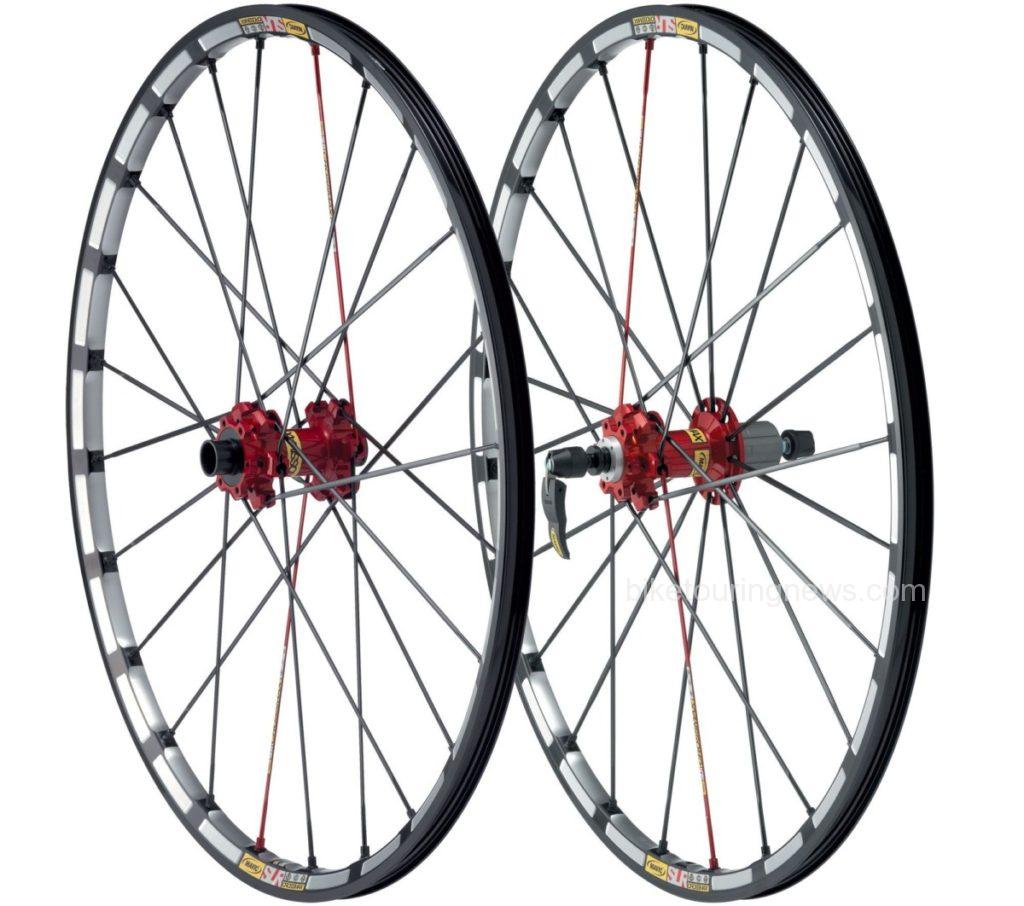
Wheel Systems may look fast and flashy but sacrifice reliability and serviceability.
We have seen a nearly infinite number of departures from the traditionally-spoked design as manufacturers continue to reinvent the bicycle wheel. Some of these variations may offer a performance benefit for competitive cyclists. Most simply want to stand out from the crowd and appear unique. Regardless of the result, they accomplish this at the expense of durability and serviceability. You may be wise to consider a replacement if your wheels have fewer than 28 spokes, nipples that aren’t square or spokes that aren’t made of stainless steel with a j-bend at the hub. Fortunately, most bike makers are using more traditional wheels on their mountain bikes these days.
Preventative Maintenance is Key!
Assuming your wheels pass the test above, you’ll want to make sure they’re in the best possible shape before you head out for your trip. Wheels that are properly trued and tensioned will be much less likely to go out of true or break spokes. Hubs that are properly adjusted and lubricated will very rarely fail, even under demanding conditions. If you’re not a top-flight home mechanic you may want to leave this job to a professional. A skilled mechanic will also be able to update you on the condition of your wheels and help you make preventative repairs to avoid untimely failures.
Need an Upgrade? Go Hand Built!
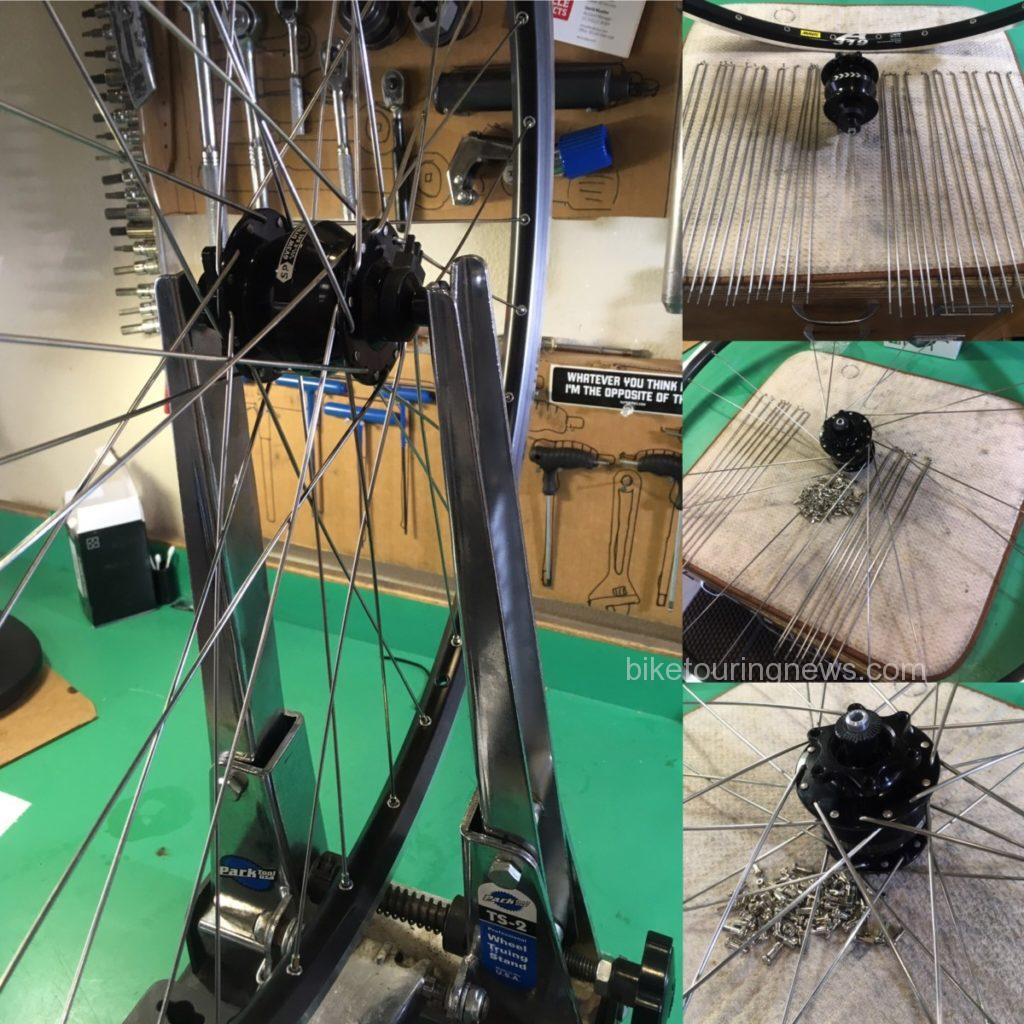
A front wheel comes together in the Bike Touring News workshop.
If your wheels aren’t up to the task or if you’re just looking for an upgrade you’d be well-advised to go hand built. Unless finished by a skilled wheel builder, machine-built wheels are often undertensioned and tend to need repeated truing even if they are built with quality components. A hand built wheel allows you the choice of components specific to your application and the ability to customize to your heart’s content. A good wheel builder will also build to precise, even spoke tension and take steps to remove the stresses that cause wheels to go out of true, resulting in a very durable, reliable wheel built specifically for your riding style and intended use. They don’t have to be expensive either. Our prices for hand built wheelsets typically start around $300 and go up from there depending on options. We build a large number of bikepacking wheels here at Bike Touring News and would love to talk with you about your dream hoops!
If you’re considering a new wheelset, think about incorporating a dynamo hub into the build. The benefits of dynamo lighting and charging are massive, even if you don’t expect to do a great deal of riding after dark. With a dynamo light you’ll never have to worry about charging or replacing batteries or leaving your light behind. If you’re traveling off the grid and need to charge electronics, there are a also a variety of USB charging options powered by your dynamo. That front wheel is already turning over; why not put it to work? We offer a wide range of hubs, lights and chargers for every budget and application but that is a subject for another post!

Hand built and dynamo equipped! These 27.5+ wheels are ready for anything!
It is difficult to understate the value of solid, reliable wheels for bikepacking. Good wheels are the best upgrade you can possibly make and are worth their weight in gold. We hope you’re feeling better equipped to evaluate your current wheelset or consider what you may look for in an upgrade. As always, feel free to drop us a comment to ask a question or share your experience. Have you ever had a bike trip hijacked by wheel problems? What qualities do you look for in a good wheel?
Thanks for reading and keep on pedaling!
Clancy April 10, 2017, 11:10 am
Wow, what a complete writeup. I just replaced my freehub body on my MTB as it was “dragging”, causing the chain to slack up. I removed the axle and the freehub body came apart in many pieces without physically unscrewing from the hub. It pedaled and was functional, but definitely had a problem. Regular maintenance is key to a well performing bike.
Ryan King April 10, 2017, 12:15 pm
Thanks, Clancy! I definitely agree on the issue of preventative maintenance. Imagine if that freehub had come apart on the side of a mountain somewhere and all those little springs and pawls fell into the dirt, grass, snow, etc! Thanks for reading.
Stormy June 14, 2018, 6:11 pm
Great write up but 35lbs of gear? Wtf. My fully loaded karate Monkey including the bike minus food and water weight in at 40lbs. 🙂 I’m just sayin…
Ryan King June 15, 2018, 4:00 pm
Howdy, Stormy! Thanks for the comment. Some folks are better at going light than others and some trips are less conducive to a minimalist kit. Those food and water pounds add up fast, especially on trips where resupply and water sources are few and far between. Personally, I don’t weigh my bike or gear when packing for a trip and accept that it will weigh what it will when I have everything I need and (close to) nothing I don’t.
Getting back to the context of this post, any wheel I’d build for a customer or want for my own touring or bikepacking bike should be able to carry much more than 35 pounds of gear over rough terrain with no issue, so I think the point I was trying to make with that statement rings true. Thanks again for reading and commenting.
Tailwinds,
Ryan