Except on the most rugged of trails or in Wilderness areas where mechanized transport is not allowed, a bicycle is the ideal vehicle to transport you and your gear to your favorite fishing locations, especially if you’d rather escape from the crowds! The hassle of finding a suitable place to park a truck on narrow, rugged roads allows the pedal-powered angler to access spots that motorized fisherfolk often overlook. They’re too busy looking for a turnout big enough for their massive pickup! Many streams have singletrack trails running alongside and there are countless lakes and ponds accessible only by bike or on foot. If you prefer solitude to fishing conditions resembling the lunch line at Burger King, bikefishing is for you.
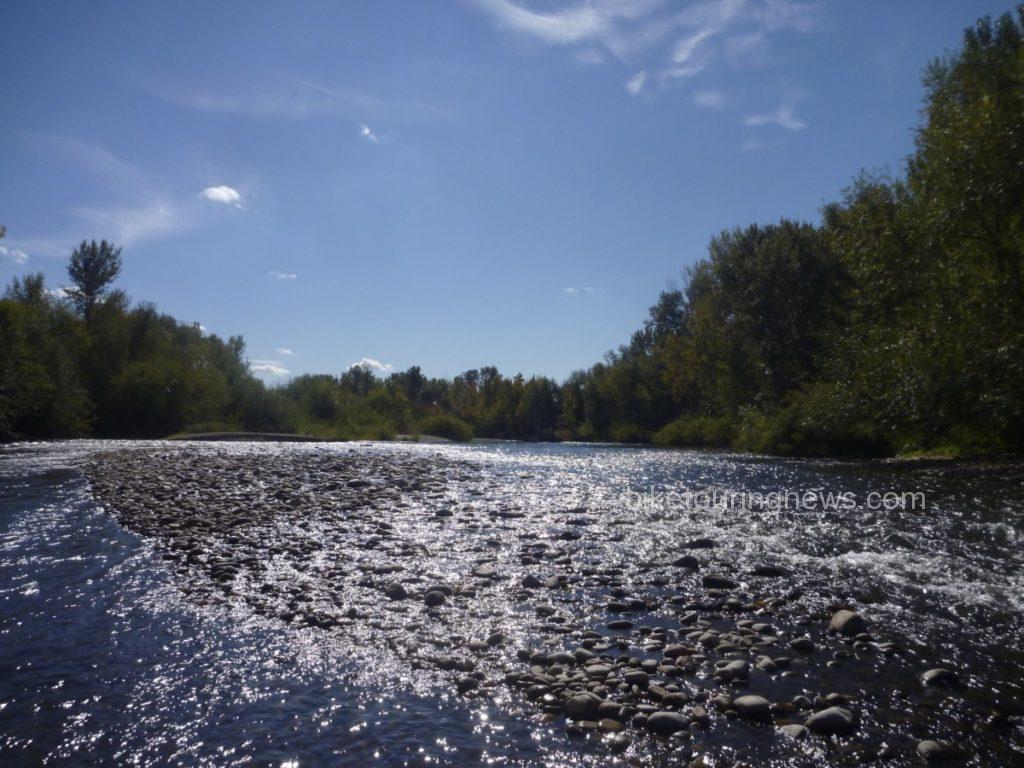
It almost doesn’t matter if you’re catching fish when you’re in the middle of a scene like this.
For me, fishing and bike riding have always gone hand-in-hand. In fact, I was first motivated to pick up a fly rod by an experience I had on a bikepacking trip soon after moving to the Gem State. I was pedaling my loaded bike on a backcountry dirt road paralleling one of central Idaho’s sparkling freestone streams. Trout were easy to spy as I gazed down from road level into the riffles below. Why wasn’t I down there in that beautiful river catching those fish!? Since then, I’ve spent countless hours searching for fish in big rivers, small streams, alpine lakes and urban reservoirs by bicycle, on foot and occasionally with the aid of motor vehicles. In this post, I’ll share some helpful tips from my experience to help you get out and fish by bicycle! Feel free to chime in with your own thoughts and experiences in the comments below.
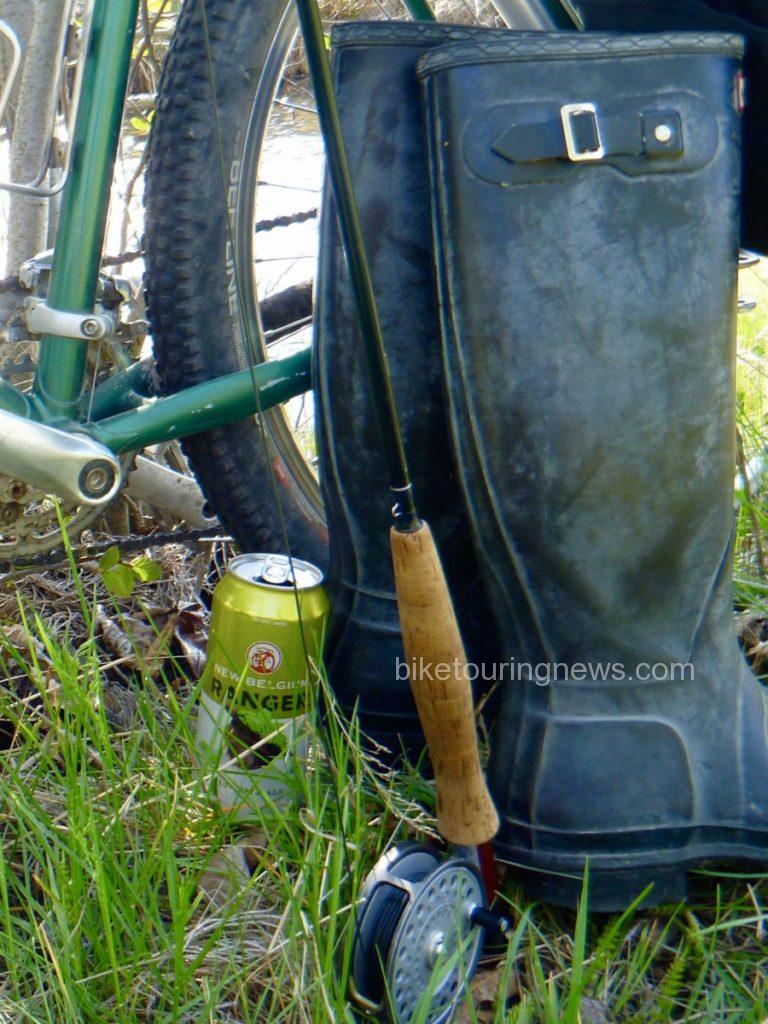
The three B’s of fly fishing.
1: Do your Homework!
Plan ahead and prepare! The amount of local knowledge and useful information accessible via the internet is a potent weapon in your arsenal. Check fishing and weather reports so you can choose appropriate tackle, clothing and other gear, then leave the rest at home. The USGS monitors water conditions for countless fisheries across the country. Water temperature, level and flow are all useful pieces of information. Local fish and game departments provide a wealth of information about fish stocking and species to expect in a particular piece of water. Many fishing shops and outfitters post regularly-updated fishing reports online. Stop into a local outfitter or fishing shop if you’re traveling far afield. Good research and local knowledge may make the difference between catching one fish after another or getting skunked.
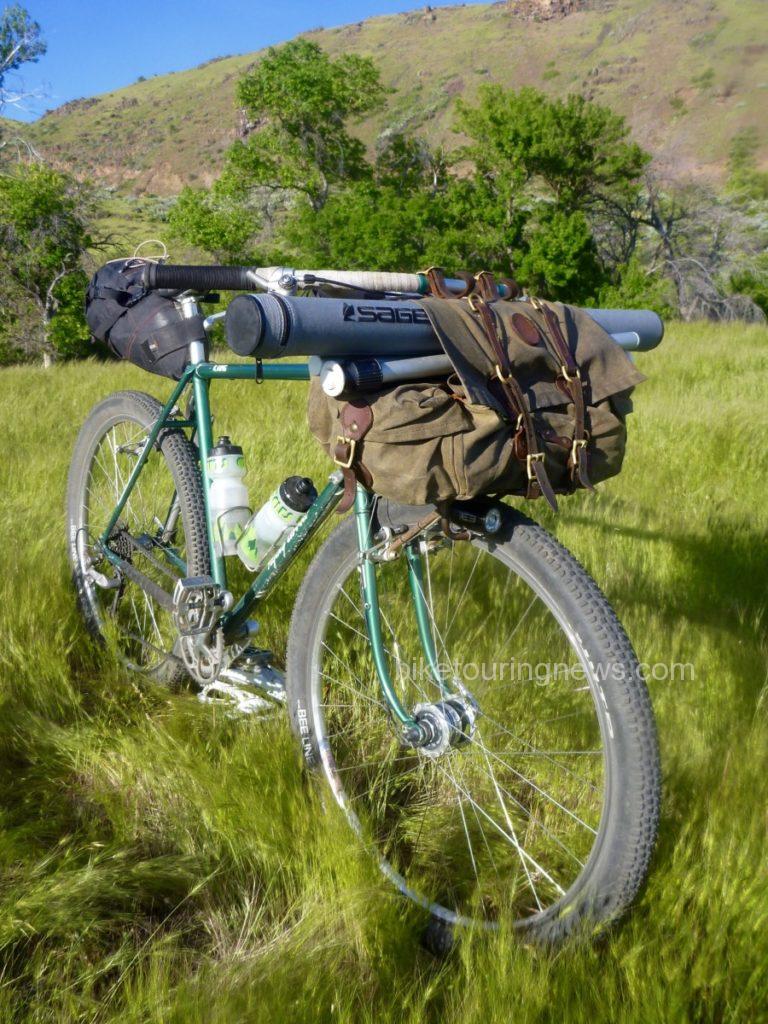
The author’s rig packed to fish a backcountry pond, complete with cheap inflatable boat!
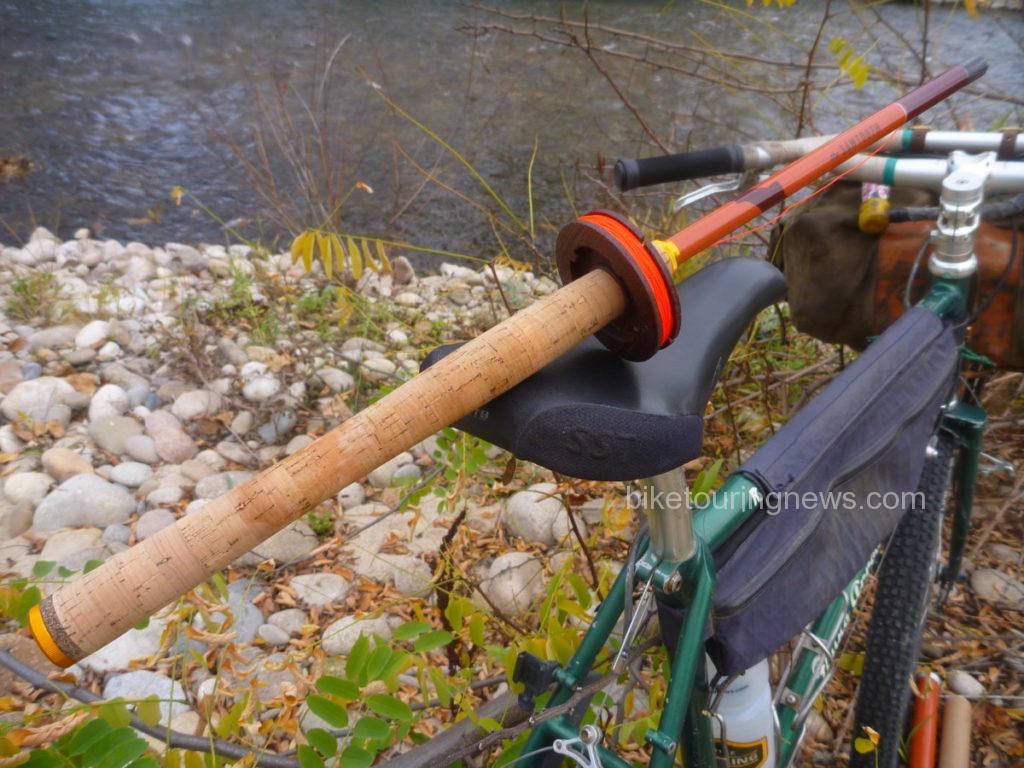
2: Don’t Throw a Rod!
Fishing rods can be challenging items to carry by bike, even when broken down and stored in a tube. Bags with a flap – like Ostrich’s S-2 Saddlebag or Frost River’s Gunflint Trail (see photo above) and Caribou Trail work great. Alternatively, you can use toestraps or Surly’s Junk Straps to lash the tube to the deck of a rack. I would never recommend riding your bike with a fully-assembled rod. You’re just begging for a potentially expensive accident. It is also easy to strap a rod tube to many backpacks. This carrying method works great if you’ll need to do a good deal of walking, hiking or scrambling to access your fishing location. Otherwise, I prefer to ditch the backpack and let the bike carry the load.
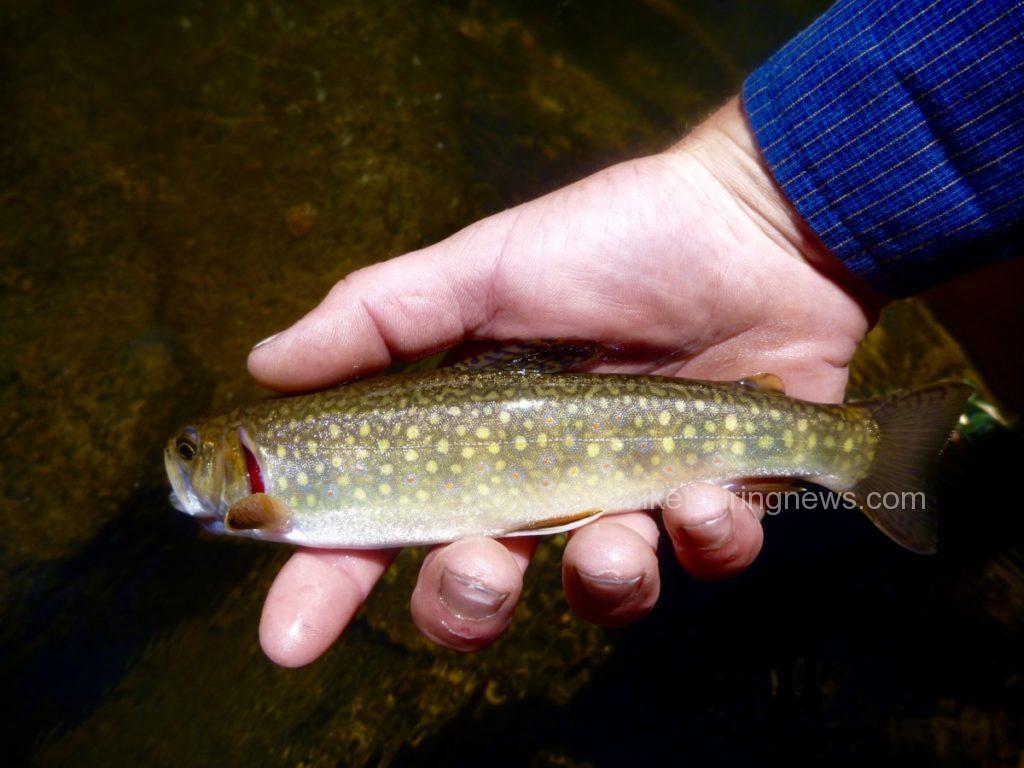
Brook trout caught from a hidden pool where few anglers venture.
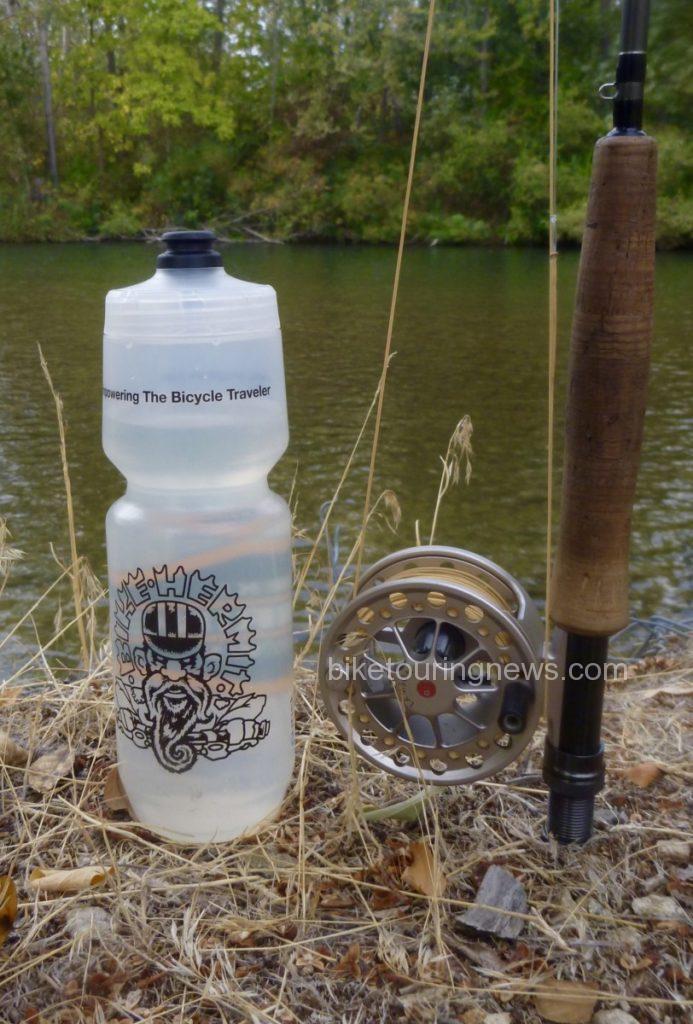
3: Streamline your Setup!
Do you really need multiple rods, reels, lines, a vest packed with gadgets and fly boxes with every imaginable imitation to catch fish? Simplify, simplify. You can’t just chuck your entire collection of outdoor gear in the back of the Subaru! Space and weight are key considerations when fishing by bike. While unnecessary gear will weigh you down and clutter your experience, you don’t want to leave critical equipment at home. Tenkara rods may offer the ultimate in a simple fishing outfit. With no reel and a featherweight telescopic rod that collapses into its 20″ handle, these fishing outfits are ideal equipment for the adventurous angler.
Tenkara: ultimate simplicity and packability!
4: Wade Wisely (or not at all)!
Waders and wading boots are the bulkiest, heaviest and most cumbersome pieces of gear in most anglers’ closets. Leave them at home unless you really need them. Fishing from the bank is a great option and may even be preferable. The long reach afforded by Tenkara rods is a big advantage in this situation. If you choose to wade in warm conditions, wet wading can be a real joy and big part of the fun. Sturdy sandals, Crocs or water shoes work fine for footwear. Even on the hottest days, neoprene socks or booties help you fish longer by keeping your feet warm and preventing irritating debris from getting next to your skin. When the mercury dips, you’ll definitely want to stay dry. Fish from the banks, wear rubber boots or consider bringing those waders along. Wear heat-retaining layers to stay warm in the chilly water. You don’t have a heated vehicle to retreat to if you get chilled, so don’t forget to layer up and bring spare dry, insulating layers in case you take an unexpected dunking!
5: Use a Shuttle (When Appropriate)!
While pedaling from home on a bike loaded with everything you need for a day, week or month of human-powered travel and fishing adventure sounds like a great idea, it isn’t always practical or possible. If you have access to a vehicle, take advantage! Drive out with your bike and gear, find a place to park or camp and strike out on the bike from there. Though perhaps not as idealistically appealing, this approach can deliver the best of both worlds. Who doesn’t like to return to a well-appointed campsite with a dry change of clothes, fully-stocked cooler and comfortable chair after a long day on the river? If the fishing – not the riding – is your main focus this may be the ideal approach.
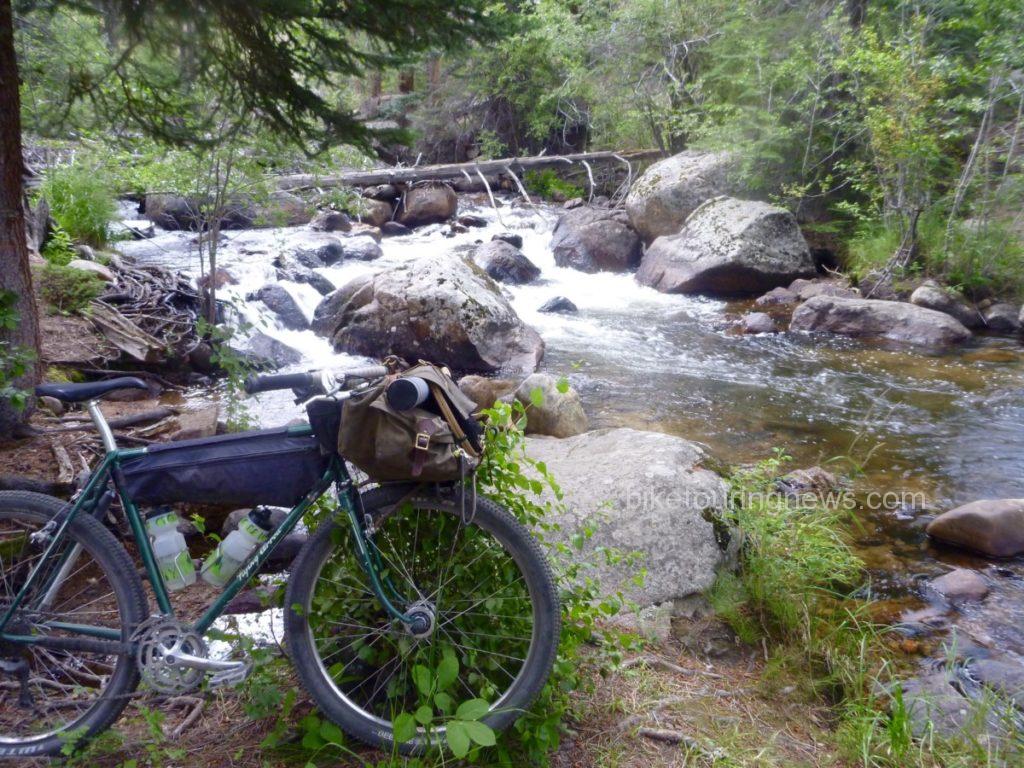
Finding solitude on a hidden creek very close to – but so far away from – the heavily-fished waters of Rocky Mountain National Park.
6: Be Flexible!
Fishing is unpredictable, so don’t get disappointed if you don’t find immediate success. Like the old bumper sticker says, “a bad day of fishing is still better than a good day at work!” Approach each situation with an open mind and don’t be afraid to try new, different or unorthodox techniques. The bike also gives you practically unlimited access to water far off the beaten track, so explore those side streams, tributaries and hidden pools. Small fish often represent big success!
I hope you’ll find these tips helpful and get out on your bike for a day of fishing soon! Did I forget anything? Share your #bikefishing ideas and experiences in the comments section below. Thanks for reading! Now get away from that screen and #getoutandfish!
Jay Swenberger November 28, 2016, 7:48 am
Wonderful tips, as always!!! I’ve recently converted my LHT from drop bars to Jones H Loop bars. In the past I’ve always loved my Ortleib handlebar bag for its stability and accessibility. Your bike seems to have a rather large bag strapped to the bars. Which bag is that? How much weight do you typically carry and how does it affect the handling?
Thanks so much for all your great info and customer service,
Jay
Enjoy the ride!
Ryan King November 28, 2016, 12:46 pm
Howdy, Jay!
Thanks for the questions. I’m glad you’re digging the Jones bars! The bag on the front of my rig is a Baggins branded saddlebag commissioned by Rivendell years ago. It is nearly identical to the Frost River Gunflint Trail and hangs neatly from the forward loop on the Jones bars. It rests on a mid-size front rack custom-built for the bike. This is a much better arrangement for me than the under-seat mounting that the bag was really made for. Sky King uses a similar setup on her ECR and likes it, though she uses a smaller bag (not sure which model) and omits the rack.
Normal loads for me probably range from 3-12 pounds. My bike uses a low-trail front end so handling is at its best with 5-10 pounds but will carry much more without complaint. You could certainly run a similar setup on your LHT and carry some heavy loads but you’d definitely have to keep your hands on the bars. However, handlebar bags like the Ortlieb sit very high and far in front of the axle so I’d imagine you’d experience more confident, intuitive handling with the weight lower and closer to the steering axis.
Hope this helps! Let me know if you have any other questions. Thanks for reading!
Jay Swenberger December 1, 2016, 6:11 pm
Thanks so much for the info. We’re planning on spending a few weeks next June in Portugal. I like the look of that bag (I loved the Baggins bags) so I’ll have to order one for my birthday to give it a good break-in!!!
Jay
Jay Swenberger December 1, 2016, 6:12 pm
I assume the rack must keep the bag off of the front brake cable???
Ryan King December 2, 2016, 8:23 am
Howdy, Jay!
The rack does keep the bag from interfering with the brake cable. More importantly, it carries the weight of the load and provides a location for the bag’s front straps to loop through. Without the rack the bag would tend to sway and swing if not fully loaded and tightly strapped. If you aren’t running a front rack I’d probably use Frost River’s smaller bag, the Caribou Trail. The Gunflint Trail really needs the support of a rack.
Cheers,
Ryan